Friday, February 22, 2013

OATS UPMA | OATS UPMA RECIPE

INDIAN DIET RECIPES

After trying out Instant Oats Idli , i wanted to explore more Indian version of Oats recipes. I tried out this Oats Upma for a weeknight dinner for myself ,and i liked it too. so after 2 days i made the Oats Upma again for me and my hubby. We both liked it and  yesterday when i made the Oats Upma again i clicked the pictures too. This Upma is made in a jiffy and to be more honest , it tasted pretty good . So over to the recipe of Oats Upma:
Oats Upma 1
INGREDIENTS:
OATS(QUICK COOKING OATS) 3/4 CUP
WATER 1/4 CUP – 1/2 CUP
ONION 1
CARROT(CHOPPED FINELY) 2-3 TBLSP
GREEN CHILLI 1
GINGER (GRATED) 1/8 TSP
OIL 2 TSP
MUSTARD 1/4 TSP
TURMERIC POWDER A PINCH
URAD DAL 1/4 TSP
ASAFOETIDA A PINCH
CURRY LEAVES FEW
LEMON JUICE 3-4 DROPS(OPTIONAL)
Oats Upma 3
METHOD:
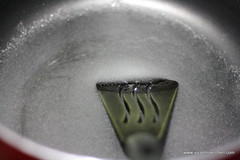
  • Dry roast the oats for few minutes without getting it burnt.
step 1
  • Chop the onions finely and slit the green chilli.
  • In a pan, add oil and add the mustard seeds, urad dal, green chilli, ginger and when the mustard splutters and the urad dal changes color add the onions, followed by that add carrots, and curry leaves and asafoetida. Saute well and add salt.
Step 3 Step 4
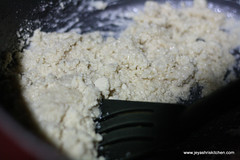
  • Once the onions becomes translucent add the roasted Oats and sprinkle with 1/4 cup of water.
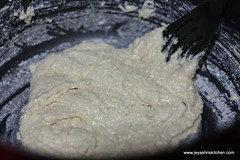
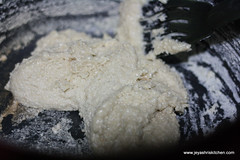
  • Close the lid and cook for 1- 2 minutes in a low flame.  Take out the lid and mix it again, if you  feel it is dry just sprinkle 2-3 tblsp of water and mix well. Keep in the flame for few minutes and switch off the flame.
Step 5 Step 7
  • Add the lemon juice to this and mix well.
Step 8
  • Always serve hot.
Oats upma 4
Notes:
  1. You can add any veggies of your choice. Adding capsicum give a nice flavour to this.
  2. Always serve this hot .
  3. Actually i made and clicked it and it took 15 minutes. After that i sprinkled 2-3 tblsp of water and sauted for 2 minutes in a low flame. It turned out moist and soft.
Oats upma 2

Wednesday, February 20, 2013

PASTA IN WHITE SAUCE | PASTA RECIPES

Pasta is a most welcoming dish at my home and i generally make it with Home made Sauce and usually pack it for kids lunch box or sometimes for weeknight Dinner too. Usually i make pasta in  this way but my kiddos love the pasta in white sauce too. Most of the times i make it either for lunch box or dinner and i couldn’t click the pictures, but two days back i made Penne pasta in White sauce and gave them for evening tiffin after they are back from school. Normally i try to include little bit of veggies in this as they will not fuss eating veggies if i put them in pasta.

For Recipe of white sauce pasta click Here.

pasta in white sauce 1

INGREDIENTS (Serves 3 )

PENNE PASTA 1 AND 1/2 CUP
WHITE SAUCE 1 CUP
MIXED VEGGIES 3/4 CUP
OLIVE OIL 1 TBLSP
OREGANOPOWDER 1/2 TSP
BLACK PEPPER TO TASTE
SALT AS NEEDED
CAPSICUM (CHOPPED) 1 TBLSP
PARMESAN CHEESE 1 TBLSP(FOR GARNISHING)

pasta in white sauce 2

METHOD:

  • Chop the veggies finely (i used carrot,green peas, corn and broccoli)
  • Boil the veggies in little water by adding little salt to this.
  • Do not over cook, let the veggies be crunchy.

White sauce pasta step1

  • Cook the pasta as per the instructions by adding salt and few drops of olive oil.
  • Drain the water and run the pasta thro cold water.

pasta step 3

  • In a sauce pan, add oil and add the capsicum and saute for a minute.

pasta step 4

  • Add the veggies to this and saute for few seconds and add the oregano and pepper powder.

pasta step 5

  • Add the white sauce to this and mix well.
  • Let this boil for a minute.

pasta step 5

  • Add the cooked pasta to this and give it a nice stir gently.
  • After 2 minutes switch off the flame.

     pasta step 6 

  • Serve it hot by sprinkling little parmesan cheese on the top .( i didn’t have cheese in hand , so i didn’t add)

 pasta in white sauce 3

Note:

  1. You can soak the pasta in water for 10 minutes before cooking which will ensure easy and fast cooking.
  2. You can veggies of your own choice.
  3. You can add red chilli flakes to this while serving if you want this little spicy.

Monday, February 18, 2013

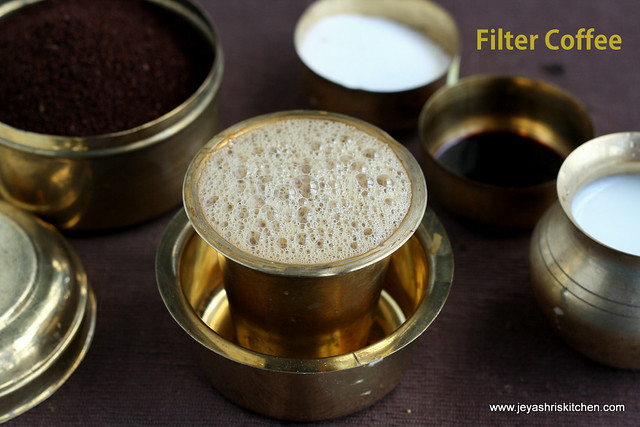
FILTER COFFEE | SOUTH INDIAN FILTER COFFEE RECIPE

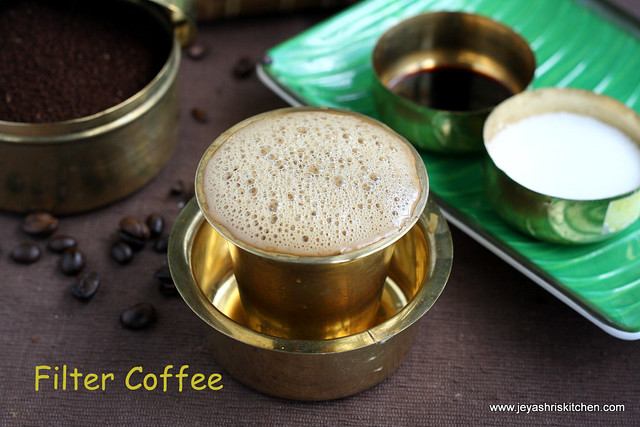
Filter coffee , the name itself makes me refreshing. Though we don’t have filter coffee everyday morning but it is a must at my place during weekends. But in my mom and mil’s place everyday we make filter coffee. I am pretty confident in making a good filter coffee and i learnt a few tips from my mom to make a perfect filter coffee. Though amma makes it normal stainless steel filter, i got introduced to the Electric coffee maker by my Mil. Now a days i use only the electric coffee maker only as it is easy to handle when it is very hot too. So i am sharing today the recipe of how to make filter coffee both in steel filter and electric coffee maker.  My sister was insisting me to write this post for a long time and finally i am sharing the recipe of filter coffee today.
The making of filter coffee comes mainly by practise and knowing the do and don’ts involved in this recipe. The quality of coffee powder also plays an important role in this. Here in Singapore i use the Kothas coffee powder regularly and in India we get from particular shop in West mambalam, chennai who grinds the coffee beans freshly and give. Even the Cafe Coffee day powder also works out well for a good filter coffee.
Filter coffee 1
I am just sharing the measurement of the coffee powder which i use here and it may slightly vary from the different varieties of powder available in the market.  Once u make continuously for 3- 4 days you come to know about your coffee powder. 
INGREDIENTS:
COFFEE POWDER
WATER
SUGAR
MILK
METHOD: USING STAINLESS STEEL FILTER
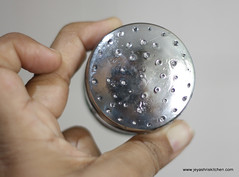
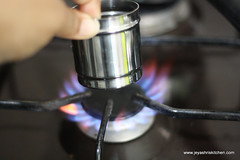
  • Heat the upper part of the coffee filter ( the part with holes) for a 3-4 seconds.
FILTER COFFEE STEP 1 FILTER COFFEE STEP 2
  • Place it over the down part and add 1/4 tsp of sugar to top portion. Adding sugar is purely optional. If you have any diabetic people around do not add sugar. The addition of sugar is to give thickness to the decoction.
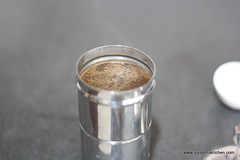
  • Add 1-2 tblsp of coffee powder to this and  bring the water (approx 1/4 cup) to a nice rolling boil. Add the very hot water to the filter and slightly cover this with the lid.
  • Always pour the hot water around the sides. Do not pour in the center. Pouring from the sides will make the decocotion to flow smoothly from the filter.
Filter coffee step 4 Filter coffee step 5
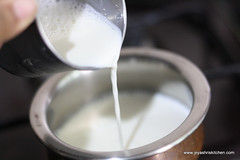
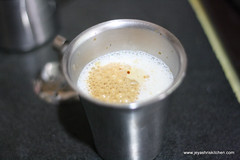
  • After few minutes the decoction will be ready. Boil the milk till it comes up and pour it to a tumbler. Add the decoction (generally the first decoction will be strong and so you can add little only.) to the milk. Add sugar. Do not add more than 1/2 tsp of sugar for 1 cup of milk . the more the sugar you add it will suppress the flavor of coffee. Even sometimes my mom skips adding sugar as we add sugar while making decoction. 
Step 13 Step 14
  • Froth it up by nicely giving a mix using another tumbler. Do not over do as it may end up in cold coffeeOpen-mouthed smile.
Filter coffee 3
MAKING FILTER COFFEE IN ELECTRIC COFFEE MAKER:
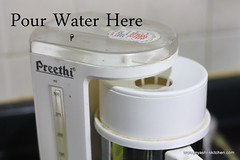
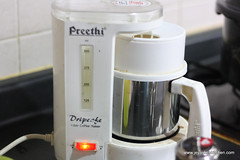
I use the preethi coffee maker for a so many years and it works out quite well.
They give one small and big filters to wherein you have to put the coffee powder. Generally i use the small one , but if you are making for more than 5 people then use the bigger one.
  • Insert the small filter cup into the big one.
Filter coffee step 8
  • Add the coffee powder (approximately 2 tblsp)
  • Place it on the coffee maker.
Filter coffee step 9 Filter coffee step 10
  • Switch on the filter and it will just 3-4 minutes to get the decoction ready.
  • Switch off when the red light in the electric coffee maker turns off.
Step 12
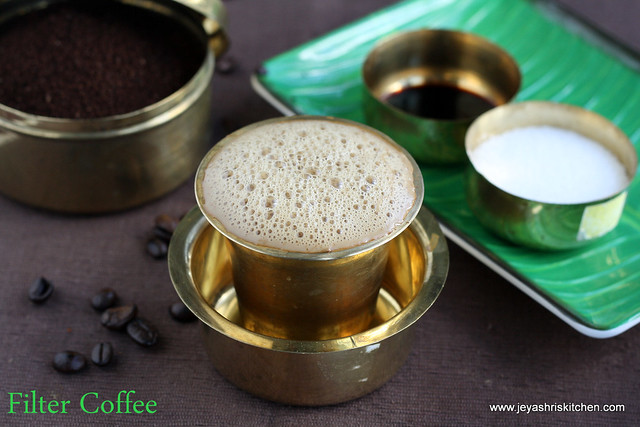
  • Follow the same step as we followed in the last stage as boiling milk, adding sugar and decoction and froth it up.
Filter coffee 2 
Notes:
  1. We generally use full cream milk for filter coffee.
  2. Do not more water to the filter as it will end up in making thin decoction.
  3. Never heat up the decoction , if you want to  heat it up just keep it in very hot water for few minutes.
  4. Always boil the milk freshly and the reheated milk will spoil the taste of fresh filter coffee.
  5. Even while reheating the milk too , do not do directly, just place the milk in a cup over a cup of water in a wide saucepan and heat the water .
  6. Never reheat the coffee too as it will not at all taste good.Do not add sugar to the milk while boiling.
  7. you can store the decoction in the fridge for a day.
Hope i have mentioned everything clearly in the post, have any queries feel free to write to me. the post made me for a craving of filter coffee now itself. So i am going to make afresh cup of filter coffee now.

Friday, February 15, 2013

KAJU KATLI | KAJU KATLI RECIPE

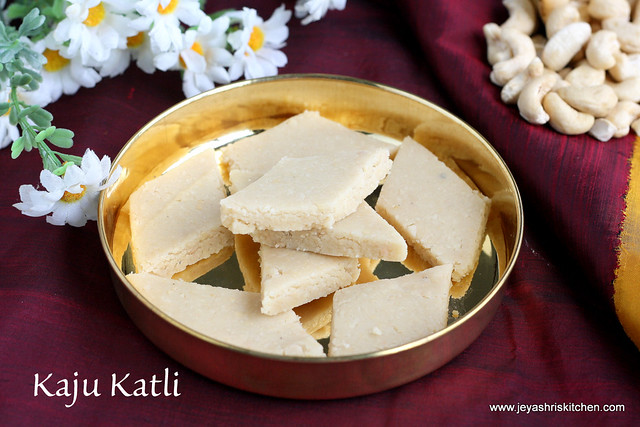
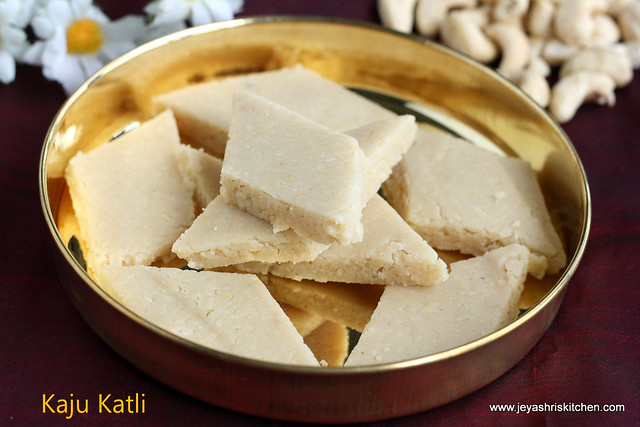
Kaju Katli 4

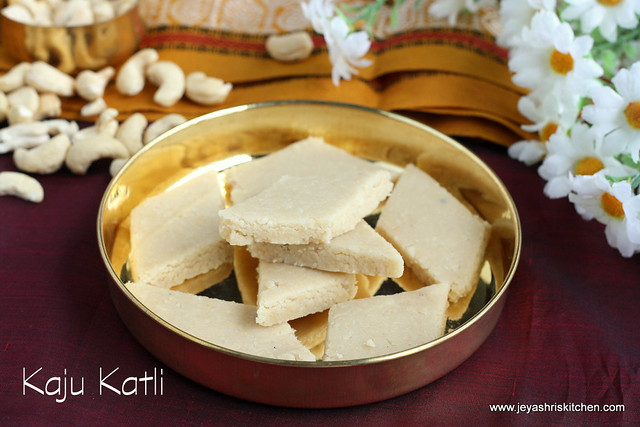
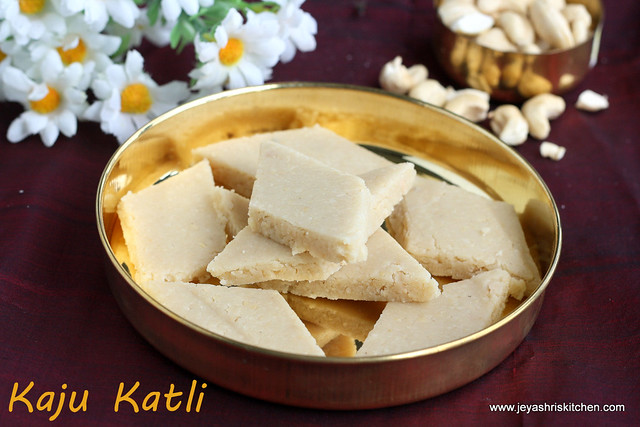
Kaju katli, a popular Indian sweet made using  cashew nuts and sugar as the main ingredient. I have posted Kaju katli using palm jaggery with video. Generally, Kaju katli we make during Diwali time, as it is one a must recipe for diwali at my in laws place. But my mil makes in a different way which i have posted already as Kaju coconut burfi. I tried this version of Kaju katli 3 years back when i learned from my cousin. This method is extremely easy and doesn’t involve much of ghee as we use for other sweets and also it is mild in sweetness too.
Yesterday was my son Varun’s bithday and i asked what to make for his birthday . He is not a big fan of cake or sweets or ice creams and he told me to make the “diamond shaped sweet”. so i made Kaju katli and he loved it too. Over to the recipe of Kaju katli now:
Kaju Katli 3
This recipe i got from my cousin and followed few tips from Lavi's blog also.
INGREDIENTS:  (MAKES 12-13 –PIECES)
CASHEW NUT 1 CUP
SUGAR 1/2 CUP
WATER 4-5 TBLSP
GHEE 1 TSP
MILK 1 TBLSP
Kaju katli 1
METHOD:
  • Before starting the process keep the cashew nuts out from the refrigerator and pat dry it and bring it to normal room temperature. It should not contain any moisture while grinding else it will become soggy and not into a powder..
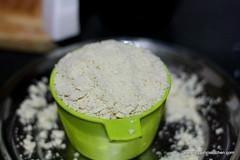
  • Grind the cashew into a fine powder , please ensure that the mixie should be dry.
  • Do not over do as the cashew nuts will start emitting oil and the powder will become soggy.
IMG_4479-001 IMG_4480-001
  • Take 1/2 cup of sugar and melt this in a wide pan with just 5-6 tblsp of water.
  • Do not add more water.
  • Heat till the sugar gets dissolved stirring in between.
  • Once sugar gets dissolved stop stirring and boil till this reach one string consistency.
  • You can check the one thread  consistency of the syrup between the thumb and the index finger. This step is important.
IMG_4482 IMG_4483
  • Once the consistency is reached you can add the cashew nut powder and start stirring it in a low flame. Keep doing till it reaches a soft dough consistency. Over doing this will result in hard burfis.
IMG_4484-001 IMG_4486-001
  • When done transfer it to a plate and when it is warm grease your hands and start kneading it into a  soft dough. I sprinkled little milk as my was bit dry. but my cousin told generally by practise we will come to know the right stage and adding of more milk also reduces the shelf life of the burfis.
IMG_4487 IMG_4488-001
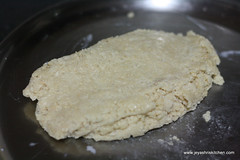
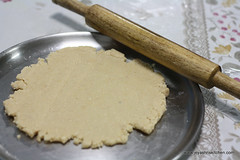
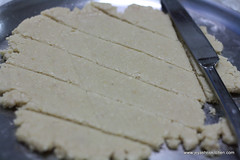
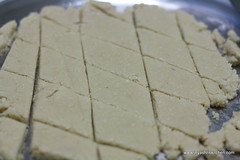
  • Once done, transfer it to a wide greased plate and start rolling it thinly with a rolling pin. Cut them into diamonds and the kaju katlis are ready to eat now.
IMG_4489-001 IMG_4490
  • My son loved this and he had a very nice birthday with his friends.
Kaju katli 2

Wednesday, February 13, 2013

SEMIYA BIRYANI | VERMICELLI BIRYANI RECIPE

EASY LUNCH BOX RECIPE – TRIED FROM RAK’S KITCHEN.

This is the first time i am trying the recipe of Semiya or vermicelli biryani. Usually i make the some rice varieties for kids lunch box and for a change i tried this Semiya biryani from Rak's Kitchen . Though it turned out quite well and i planned to make this once in a week for lunch box.
  If you wonder, that i am not using any fancy plastic box for kids lunch box, no i won’t use any plastic and use only stainless steel lunch box as even a high quality plastic is not good as it will bring many health problems in long run. Even the storage boxes i use in the kitchen are stainless steel only. So try to avoid using plastic boxes as much as you can.
Semiya biryani 2
  
INGREDIENTS: (SERVES 2) FOR ORIGINAL RECIPE, CLICK HERE.
I slightly altered the recipe to suit my taste.
ROASTED VERMICELLI 1/2 CUP
THIN COCONUT MILK 1/2 CUP
MIXED VEGETABLES 1/4 CUP
ONION 1
MINT LEAVES 5-6
GARLIC 4-5 FLAKES
FENNEL SEEDS 1/4 TSP
CARDAMOM 1
GREEN CHILLI 1
SALT AS NEEDED
OIL | GHEE 1-2 TBLSP
Semiya Biryani 1
METHOD:
  • Grind the mint leaves, garlic flakes,fennel seeds, green chilli and cardamom into a fine paste adding little water to it.
  • Slice the onions and chop the veggies finely. I used carrot,beans and green peas.
semiya biryani step 1 semiya biryani step 2
  • In a pan, add oil | ghee and add the cumin seeds and the   onions. Saute till the onions turn brown.
  • Mix 1 tblsp of coconut cream powder in 1/4 cup of water. If using fresh coconut milk, just use the thin milk.
semiya biryani step 4 semiya biryani step 3
  •    Add the ground masala paste and saute well, till the raw smell goes off.
  • Add the veggies and saute well for 3-5 minutes in a medium flame, till the veggies gets half cooked. Add the coconut milk and let it boil in a low flame.
semiya biryani step 5 semiya biryani step 6
  • Add salt and add the roasted vermicelli. I used the roasted one, if using the non roasted one, roast the semiya well ,else the biryani will be sticky.
  • Cover and cook in a very low flame till the moisture gets absorbed.
semiya biryani step 7 semiya biryani step9
  •   Enjoy with any raita of your choice.
    semiya biryani 3
Sending this to Tried and tasted event hosted by Sowmya of Nivedhanam.
Note:
  1. Instead of grinding the mint leaves you can finely chop them and add too.
  2. Do not add too much of water or coconut milk, it will make the biryani sticky.
  3. If using plain vermicelli, roast it nicely in a low flame, else the biryani will be sticky