After trying the
Kasi halwa and
Karachi halwa i thought i will try Godumai halwa | wheat halwa at home. I tried the halwa with wheat flour and it turned out pretty awesome. I just jumped out of joy and it tasted exactly like the Tirunelveli halwa which we get in shops. But home made is always best right. So without waiting just go and try this halwa at home. I adapted the recipe from
here. Very easy to prepare and no complicated steps. Just have to stir patiently. You get glossy halwa. So go ahead and prepare this Godumai halwa for this Diwali 2014.
Check out other
Popular Indian Diwali Sweet recipes
Ingredients

Preparation Time :10 mins+ 3 Hours soaking | Cooking Time : 45 Mins | Yields: 3 cups
Wheat flour 1 cup
Water 5-6 cups
Sugar 2 cups
Ghee 3/4 cup
Cashew nuts few
Cardamom powder a pinch
Orange food colour a pinch

Method:
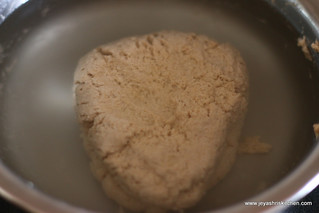
- In a wide bowl, add the wheat flour and make it into a dough as we make for chapathi. Do not add salt or oil.
- Add 5 cups of water to this and soak this in water for 3 hours.
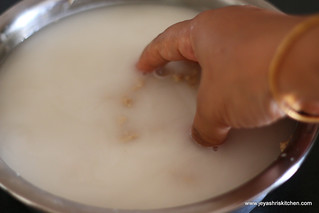
- After 3 hours mix this nicely with hands and strain the liquid.
- Add one more cup of water and extract some more milk from the wheat dough.
- Discard the residue.
- In a heavy bottomed pan, add 1 tsp of ghee and roast the cashew nuts till golden brown. Keep this aside.
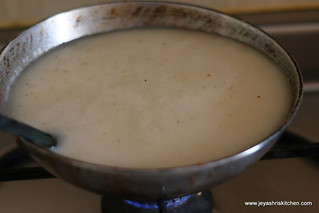
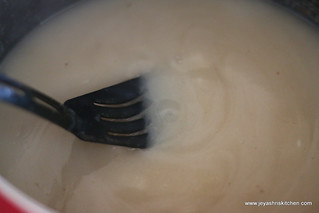
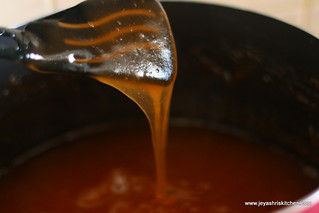
- Add the extracted water (around 5 cups it came) to the pan and slowly start stirring it. Keep the flame low, high flame will spoil the halwa and will not get cooked.
- I first put in the normal pan which i use but since it was overflowing i transferred it to a big non stick pan.
- After 10 minutes the mixture will be like a porridge and start thickening.
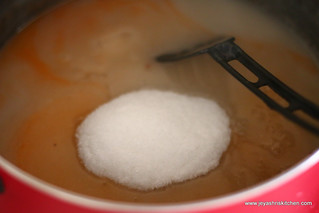
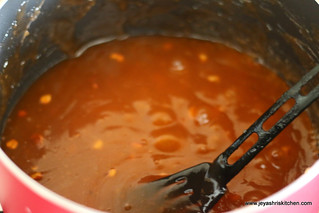
- Add the sugar now and mix the orange color with 1 tsp of water. Add this orange colour to the halwa. Stir well.
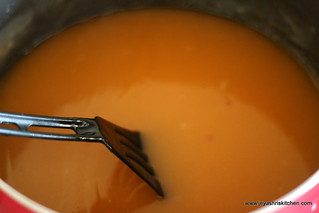
- Add 2 tblsp of ghee and stir well in a low flame. From now on wards only stirring is the job. Just add the ghee(melted ghee) and add in between. Slowly the halwa will get a glossy texture.
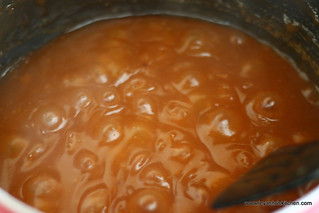
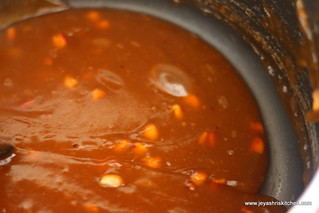
- Add the cashew nuts and the elachi powder. Stir nicely. The halwa will start coming like a jelly ball without sticking to the bottom.
- Switch off the gas and if you want you can pour this in a greased plate and cut them into pieces.
- I want to have this like halwa in a bowl. So didn’t spread in a plate.
- Enjoy hot Tirunelveli Godhumai halwa.
Notes:
- Only stirring part takes extra time else not much complications in the recipe.
- The entire process should be done on a lower flame as keeping on a high flame will spoil the halwa.
- Make sure not to get any lumps in the first 10 minutes. So stir continuously in a low flame.
- This stay well in room temperature for 2 days and stay well in the refrigerator for a week.
- When you want to reheat , just heat water in a vessel and boil it nicely. Switch it off and keep the halwa in a steel bowl and place it inside the hot water.
- It will taste awesome when it is hot.

 Notes:
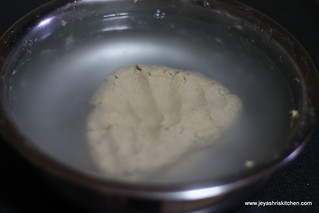

hmmm mouthwatering halwa...
ReplyDeleteThanks for posting.Only today i saw a photo of Halwa and wanted to make.
ReplyDeletelooks amazing.... so jelly like and heavenly
ReplyDeletelovely halwa, I make it using plain flour. Love it.
ReplyDeleteyummy halwa, what a nice color!
ReplyDeleteJayanti the halwa came out beautifully.i just finished making it.dont know hoe to upload that photo.thank u.
ReplyDeleteWow thanks for simple receipe.. For the first time I am going to try halwa with ur receipe... Tis is for Diwali spl... Will share u how it's coming out.
ReplyDelete_sona Alagesh
Tried this yesterday. it tasted great (I felt I should have left it on for a few mins more and would have gotten the perfect iruttu kadai halwa taste. even now some parts that were crisped more got that taste) but the kelar-ing took close to a whopping 75+ minutes!! At one point I gave up and switched to a bigger burner to hasten the process. Wish I had known that before I started at 10:30pm :) Nevertheless great recipe.
ReplyDeleteThanks for the recipe .The halwa came out very good and was easy although took a long time��
ReplyDeleteThank you for the recipe..really came out very well....very yummyyy :-) !!!
ReplyDeleteTurned exactly what it is in your post. Superb. Such a good explanation
ReplyDelete