Friday, June 14, 2013

IDLI UPMA RECIPE | UPMA WITH LEFT OVER IDLIS

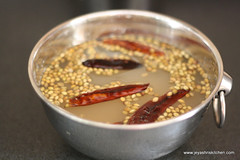
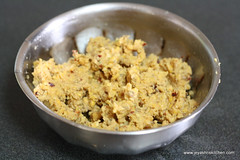
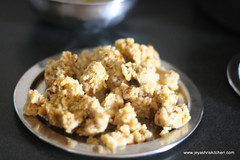
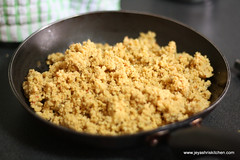
If i am served with idli upma everyday i will be so happy, even i am happy with any upmas and i love all varieties of upma i make at home. One among my favourite upma is Idli upma which is made with left over idlis. My mom rarely make this idli upma with left over idlis . She always makes this with fresh idlis as  i idli upma more than idlis.  Moms are always special. So let me share my mom’s version of my most favourite idli upma.
I am going on a vacation for 2 weeks but i have scheduled few posts to keep this space active. Send in your mails regarding any queries and i will try to respond if i get proper net connectivity there.
Idli upma 2
INGREDIENTS:
IDLIS 10
SHALLOTS (SMALL ONION) 7-8
BIG ONION 1
MILAGAI PODI 4-5 TSP
GREEN CHILLI 1
OIL 2 TSP
MUSTARD SEEDS 1/2 TSP
URAD DAL 1/2 TSP
CHANNA DAL 1/4 TSP
SALT A PINCH
CURRY LEAVES FEW
Idli upma
  • Make idlis and keep it in the refrigerator for 15 minutes. keep it covered. If you are making with left over idlis then you can keep it  refrigerated overnight also.
  • Take out the idlis and make it into small pieces using hands.
  • Peel the shallots and chop them and finely chop the big onions. Chop the green chillies too.
Idli upma steps idli upma step
  • In a pan add oil and add the mustard seeds,channa dal,urad dal , green chillies and fry till the onions become translucent. Add little salt at this stage.
  • Now add the idli pieces.
idli upma idli upma
  • Now add the idli milagai podi and mix gently to get even coating of the podi into the idli.
idli upma idli upma
  • Let this be in a low flame for 2-3 minutes. Switch off the flame and garnish with curry leaves.
  • Serve hot.
  • I personally love to have any upma with a cup of coffee.      Idli upma 3
Note:
  1. Generally idli upma is make with the last end past of the idli batter.
  2. Never skip the shallots as this will enhance the flavour.
  3. If you do not want to add idli milagai powder you can add 2-3 extra green chillies and  squeeze little lemon juice in the last.

Wednesday, June 12, 2013

MIRCHI KA SALAN | HYDERABADI MIRCHI KA SALAN RECIPE


Mirchi ka salan is a hyderabadi delicacy which is generally made as an accompaniment for Biryani and can also be had with rotis and rice too. I wanted to try this Mirchi ka salan  for a long time and last week when i saw this bajji chiilies in the nearby Indian shop i picked it up to try out the Mirchi ka salan. I liked the taste of this and it went well with Vegetable biryani(will post the recipe later)
Mirchi ka salan 2
INGREDIENTS: Serves 2-3
LONG GREEN CHILLI 5
TAMARIND EXTRACT 1 CUP
ONION 1
TOMATO 1
GINGER GARLIC PASTE 1 TSP
ROASTED PEANUTS* 2 TBLSP
CUMIN SEEDS 2 TBLSP
FRESH COCONUT | KOPPARAI* 2 TBLSP
SESAME SEEDS 2 TSP
RED CHILLI POWDER 1/2 TSP
OIL 2-3 TBLSP
*I used the store bought roasted peanuts, if you are the raw peanuts , dry roast them and phew the skin.
*If using fresh coconut, dry roast it till golden brown and add.
mirchi ka salan 1
METHOD:
  • Wash and cut the slit the mirchis and take out the seeds from inside and cut them in lengthwise.
mirchika salan salan
  • In a pan add2 tblsp of oil and saute the mirchi. Generally it has to be deep fried but i avoided deep frying. But shallow frying makes the mirchi shrink. So it is up to to you whether to make it deep fry or not.
  • Drain the excess oil in a kitchen towel.
mirchi fried mirchi
  • In the same pan, add ginger garlic paste and when the raw smell disappears add the finely chopped onions. Saute till the onion turns golden brown. Add the chopped tomatoes and saute till they become mushy.
  • Allow this to cool and grind smoothly into a paste.
mirchika salan masala paste
  • Roast the sesame seeds and grind this into powder along with peanuts,cumin seeds and coconut. Since i used roasted peanuts and kopparai(dry coconut) i didn’t roast it. and i forgot to roast the sesame seeds !!
Mirchi ka salan roasted peanut sesame and coconut
  • Add oil to the pan and add the ground onion tomato paste to this. Saute for a few minutes in a low flame. Add the peanut masala to this and saute for a while.
  • Now  add the red chilli powder and saute well. Add 1/4 cup of water to this.
mirchi mirchi ka salan
  • Add salt to taste. Now add the tamarind extract to thisand let it boil for 2-3 minutes in a low flame. Stir in between. Now add the shallow fried chillies and mix well. Let it boil for a minute.
mirchi ka salan Adding chiilies
  • Switch off the flame and garnish with curry leaves.
Mirchi ka salan 3

Monday, June 10, 2013

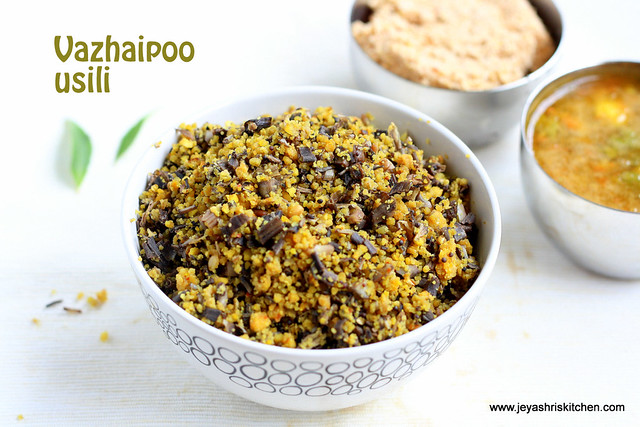
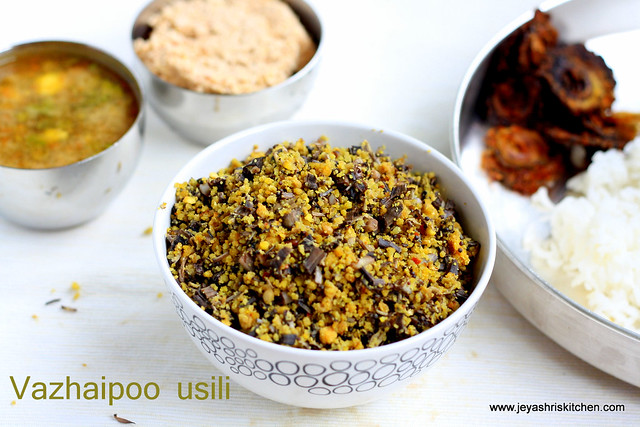
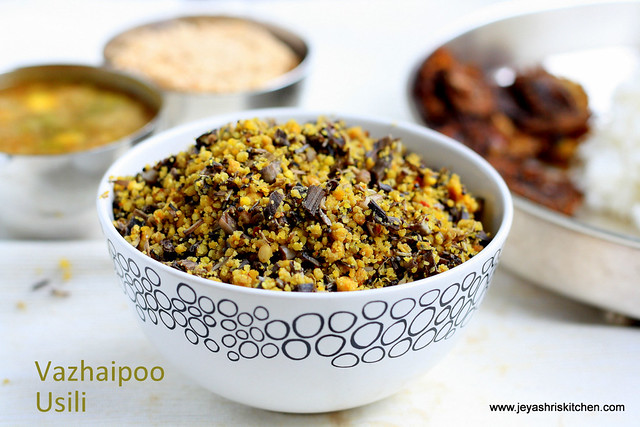
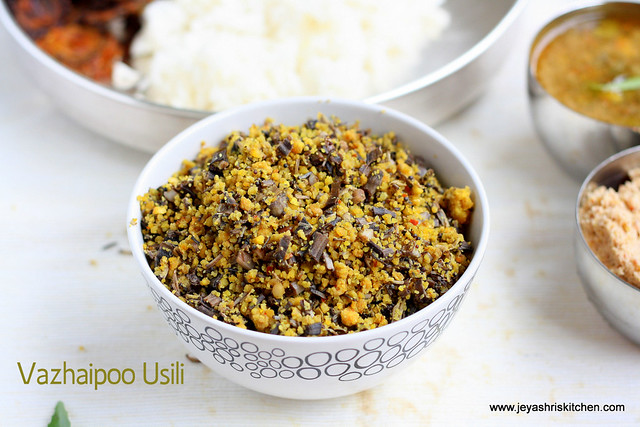
Vazhaipoo Paruppu usili recipe, How to make usili


Banana flower usili 3
Vazhaipoo paruppu usili, a traditional tamil brahmin recipe made using banana flowe and lentils, serves a perfect accompaniment for rice. Vazhaipoo or banana flower is cooked in 2 forms in our place. One is this Vazhipoo paruppu usili and other one is Vazhaipoo kootu, Vazhaipoo paruppu usili, though like by everyone at home many times we won’t have a chance to visit the Indian market in little India and the local small Indian shops will only the basic Indian veggies. So when ever i visit the Indian market, i buy the Vazhaipoos and make paruppu usili in the same way as i make Beans Paruppu usili. Recently i was told by my friend, that she makes this vazhaipoo paruppu usili by adding an extra ingredient. So i am sharing the recipe of the popular South Indian Vazhaipoo paruppu usili. Also check out the popular chettinad style Vazhaipoo vadai recipe
Before buying the vazhaipoo, always choose the heavy weighted vazhiapoo , which will have more flowers. Though cleaning is a little elaborate part, when you practise it it will be easy.
Vazhaipoo usili 1
INGREDIENTS: SERVES 3-4
TOOR DAL 1/4 CUP
CHANNA DAL 1/2 CUP
RED CHILLI 4-5
VAZHIPOO (CLEANED AND CHOPPED) 2 CUPS
ASAFOETIDA 2 PINCHES
OIL 2 TBLSP
MUSTARD SEEDS 1/4 TSP
CORIANDER SEEDS(DHANIYA) 2 TSP
CURRY LEAVES FEW
SALT TO TASTE
BUTTER MILK 2 TBLSP
Vazhaipoo usili 4
METHOD:
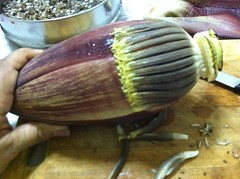
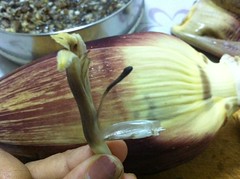
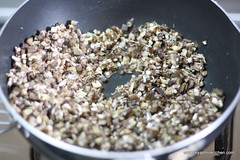
  • First clean the vazhipoo. Take out the bunch of flowers and take out the kallan( the black part. I took this photo from my phone as couldn’t handle the camera in one hand.
Vazhipoo cleaning Vazhipoo cleaning
  • Chop them finely and put it in vessel filled with water and little butter milk. the addition of buttermilk is to avoid the the discoloration of the vazhaipoo. This can be done on the previous day night and kept in the refrigerator.
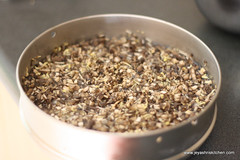
paruppu usili
  • Soak the channa dal, toor dal , dhania seeds and red chillies for 20 minutes.
  • After 20 minutes, drain the water and coarsely grind this in a mixer.
Paruppu usili Vazhipoo usili
  • Steam this in a greased idli plate or a normal vessel for 12- 15 minutes.
  • When done allow this to cool and pulse it in a mixer.
vazhipoo usili Vazhipoo usili
  • In a pan add oil and throw in the mustard seeds. Drain water from vazhaipoo and saute this for 5 minutes by adding salt to this.
  • The vazhaipoo will get cooked easily.
  • Take it out from the pan and keep it aside.
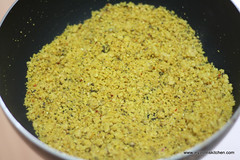
  • Add oil in the same pan and add the steamed and pulsed dal.
  • Add little salt and turmeric powder. Saute well in a low flame for 5- 8 minutes till it gets nicely roasted.
Vazhipoo usili Usili
  • Now add the vazhaipoo which we have cooked already.
  • Mix well to the dal and let it be in a low flame for 2 minutes. Add curry leaves and switch off the flame.
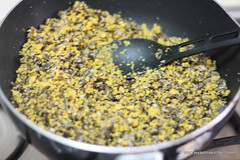
Paruppu usili
   Vazhaipoo usili 2            
Note:
  • If you want the texture of the paruppu usili to be very soft, add more of toor dal and less of channa dal.
  • If you prefer a roasted texture then add more of channa dal and less toor dal.
  • If steaming the paruppu in a normal vessel , do not forget to cover it properly, else water will come into it and make the Vazhaipoo paruppu usili soggy.

Friday, June 7, 2013

MASALA PAPAD | MASALA PAPAD RECIPE


Masala papad is an easy and interesting snack generally served as a starter. Even we can have this as a teatime snack too. A guilt free snack which is always a  crowd pleaser. Generally for making masala papad i do not deep fry the papad , instead just grease this with little bit of butter or oil and microwave the papad. The pepper flavoured papad will be an apt one for this masala papad.
Masala papad 2
INGREDIENTS:
PAPAD 2-3
ONIONS 1
GREEN CHILLI 2
TOMATO 1/2
CUCUMBER 1/4
CAPSICUM 1/4
CARROTS 1/4
SALT A PINCH
CORIANDER LEAVES TO GARNISH
LEMON JUICE 2-3 DROPS
masala papad 1
METHOD:
  • Microwave the papads by applying butter | ghee | oil on one side. Applying this is optional. If you are very health conscious just skip this.
  • Microwave till the papads are done.
Roasted  papad
  • Very finely chop the  onions , capsicum, tomato (deseed), capsicum,cucumber and carrots. Grate the green chillies.
Masala for papad
  • Mix everything together and add salt and add the lemon juice.
  • chop the coriander leaves.
  • Just before serving arrange the veggies topping evenly on the papad and garnish with coriander leaves.
Masala Papad
  • Do not arrange this before else it will make the papad soggy.
Masala papad 3
Note:
  1. You can add red chilli powder but i feel it will taste raw.
  2. Chaat masala can be added, but it will suppress the original taste of the veggies and make the taste of the chaat masala dominating.
  3. If adding chaat masala omit the addition of salt.
    

Wednesday, June 5, 2013

EGGLESS CARROT CAKE WITH HOT TOFFEE SAUCE


After a long time, i baked a beautiful cake yesterday. I can say this eggless carrot cake is one of the best cake i have baked. The hot toffee sauce makes the cake more tasty. I wanted to make an carrot cake for a long time and this recipe i adapted from here and the yummy hot toffee sauce i adapted from Nags space. So go ahead and try out this easy eggless carrot cake with hot toffee sauce.
Carrot cake recipe


INGREDIENTS: FOR CARROT CAKE
CARROT (GRATED) 1 CUP
CONDENSED MILK 1 TIN (14 OZ)
ALL PURPOSE FLOUR 1 AND 1/4 CUP
BAKING POWDER 1 TSP
BAKING SODA 1/2 TSP
MELTED BUTTER 1/2 CUP
VANILLA ESSENCE 1 TSP
Eggless carrot cake
FOR HOT TOFFEE SAUCE:
BROWN SUGAR 1/4 CUP
BUTTER 2 TBLSP
CREAM 1/2 CUP
VANILLA ESSENCE 2 DROPS
METHOD:
  • Sift the all purpose flour, baking soda and baking powder for even mixing.
  • Grate the carrots and add the condensed milk, melted butter and carrots in a bowl. Mix it gently and evenly.
carrot cake carrot cake steps
  • Add vanilla essence to this.
  • Now mix this wet ingredients to the flour mix and gently mix it.
  • Grease a pan and pour the cake mixture to this. I used a bundt pan to bake this carrot cake.
carrot cake carrot cake
  • Bake this in a preheated oven at 180 degrees. Mine took 40 minutes to bake this beautiful cake.
carrot cake
  • Allow this to cool in a wire rack.
  • To make the Toffee sauce,combine all the ingredients under the table “Toffee sauce” in a sauce pan.
  • Gently mix this  let it simmer for 5-7 mins until the mixture thickens. Switch off the flame and keep it aside.
Toffee sauce toffee sauce
  • Just make  holes in the cake with toothpicks and pour the toffee sauce over the cake.
  • Cake is ready to serve.  Do not skip the toffee sauce as it enhanced the taste of the cake very much.
This beautiful cake i baked for a special occasion today as we are celebrating our 13 years of togetherness today.
Carrot cake with toffee sauce        
Note:
  • Do not skip the toffee sauce as it enhanced the taste of the cake very much.