Showing posts with label Roti | Indian flat bread. Show all posts

Sunday, September 1, 2013

POORI RECIPE | HOW TO MAKE POORI | SOUTH INDIAN BREAKFAST RECIPES


When i posted the recipe of POORI MASALA | POORI KIZHANGU, few readers were asking to post the recipe of how to make poori too. Though i make it twice a month, but never had a chance to click the making of Poori as either it would  be on weekends or on a weekday morning breakfast. Finally i made poori for kids snack , after they come from school, generally they eat meals as they normally take some tiffin like idli, paratha, chapathi or bread for lunch. When i made this around 3 pm suddenly i thought i would click poori so that it will be useful for readers too. So in a hurry i clicked and posting the recipe now.
check out my

Scroll down to note down the tips as how to make poori in advance if you have guests coming to home.

Monday, August 12, 2013

Lachha paratha recipe, how to make lachha paratha

Lachha paratha, a popular layered Indian flat bread recipe, with detailed step by step pictures and video of how to make lachha paratha.
Lachha paratha is the one which i wanted to try for a long time, it finally worked out during the long weekend last week. Lachha paratha turned out flaky and we enjoyed with Palak kofta Gravy.  During our childhood days, we used to eat the Kerala Malabar Parrota in a friend’s place and we too help her mom in making the parrota. In that same way i have tried this Lachha paratha and let me share the recipe of Lachha Paratha.
Also check out my other popular Indian flat bread recipes.


Wednesday, March 20, 2013

METHI THEPLA RECIPE | THEPLA RECIPE

Methi thepla with video 

   I have already posted Methi Paratha recipe here but this methi thepla i learnt from my friend and i am big of this and after tasting this twice at her place, you know what i told. If you say i asked for the recipe, no- I told her whenever you make this methi thepla you give the dough for me also to make 4 rotis. Till date i didn’t try the dough on my own,(as she send me dough every week) even for this recipe too i called her home and asked her to make for me. We had a good chatting session while making this methi thepla. Thanks anitha for the wonderful recipe and making the theplas for me.
These theplas if handled in a proper way, like without touching with wet hands and not packing when it is too hot, is best suitable for travels too. So if you are planning for a summer vacation trip or any picnic you can prepare this and pack for your trip. This can stay for 2 days. Check out my Methi khakra recipe.
methi thepla

Tuesday, February 26, 2013

PANEER WRAPS RECIPE

As mentioned in my previous post Tortilla recipe , i am sharing the recipe of Paneer Wraps . This is a very easy and kids friendly lunch box recipe. The masala i stuffed inside inside the tortilla depends on your own choice and according to the taste of kids too. Since both my kids are a fan of paneer recipes i made the wraps with paneer stuffing. I included cabbage too in this, as both the kiddos hate eating cabbage. In this recipe, they didn’t even feel that i have added cabbage in this .
Paneer wraps 2
INGREDIENTS:
TORTILLA 4
PANEER CUBES 10
CABBAGE SHREDDED 1/4 CUP
ONION 1
TOMATO 1/2
RED CHILLI POWDER 1/2 TSP
GARAM MASALA 2 PINCHES
CORIANDER POWDER 1/4 TSP
OIL 2-3 TSP
TOMATO KETCHUP TO SPREAD ON THE TORTILLAS
Tortilla wraps 1
METHOD:
  • Heat a pan and add oil. Add the chopped onions and when it becomes nice brown color add the chopped tomatoes. Saute for a while till the tomato turns mushy.
  • Now add the paneer cubes, shredded cabbage, and the red chilli powder,coriander powder, garam masala and salt.
IMG_4871 IMG_4875
  • Saute well till the raw smell of the powders goes off.
  • Switch off the flame and allow this to cool. Spread the tomato ketchup on the tortilla.
IMG_4876 IMG_4898
  • Place 2 tblsp of the paneer mixture on the center of the tortilla as shown in the picture below. Roll it into a wrap and insert a toothpick on the center. The paneer wrap is ready to eat.
IMG_4902 IMG_4903
  • You can give this to your kids after they come back from school or pack it for their lunch box too.
        Tortilla wrap 3
Notes:
  1. You can add any veggie of your choice. Addition of capsicum will enhance the flavour a lot.
  2. You can add finely chopped carrots or frozen corn or peas too.
  3. Once i tried with dry chole  masala  for filling inside.

Monday, February 25, 2013

HOME MADE TORTILLA RECIPE | FLOUR TORTILLA RECIPE

   Tortillas are used to make wraps , which i rarely buy from stores. Normally for making wraps or kathi rolls i make the usual Roti | Phulkas and stuff the filling inside and wrap it and send it for kids lunch box. Last week i wanted to try out a tortilla recipe at home and finally made it and i adapted the recipe from here.
As we are shifting the house, this weekend i am totally busy with that and couldn’t follow any other fellow blogger’s posts. Hope to come back to routine in few weeks . I will posting some simple recipes for the next few weeks to keep this space active.
Tortilla 2
INGREDIENTS: (MAKES 6-7 TORTILLAS)
ALL PURPOSE FLOUR (MAIDA) 1 CUP
OLIVE OIL 1 AND 1/2 TBLSP
WATER AS NEEDED
SALT TO TASTE
METHOD:
  • In a wide bowl, add the flour and add olive oil and salt. Knead it into a soft dough using enough water. Do not knead it too stiff. Else the tortillas will be  hard.
  • Cover and keep it aside for 1/2 an hour.
[forgot to click pics in this stepSad smile.]
  • After that make equal lemon sized balls and start rolling each into thin rotis.
IMG_4878 IMG_4880
  • Heat a griddle , and when it is hot add the rolled tortilla to this and cook on one side and when you see brown spots flip it over and cook on the other side too.
  • Brush  it with little olive oil.
  • Repeat the same process for the rest of the dough.
IMG_4883 IMG_4884
  •      Tortillas are ready . Stay tuned for the Paneer wrap recipe in the next post.

Tortilla 1

Wednesday, July 25, 2012

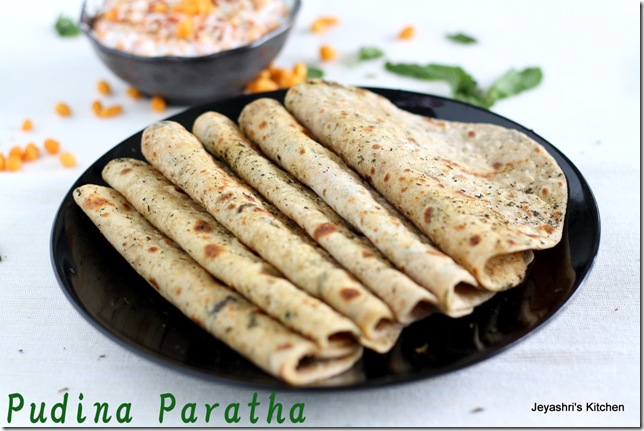
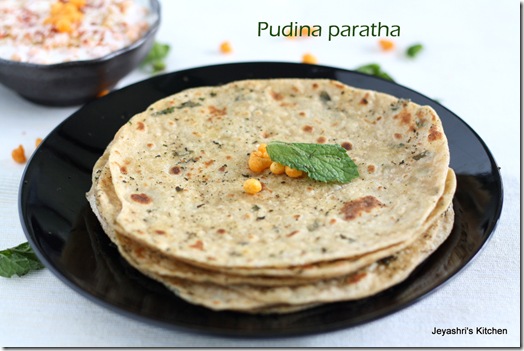
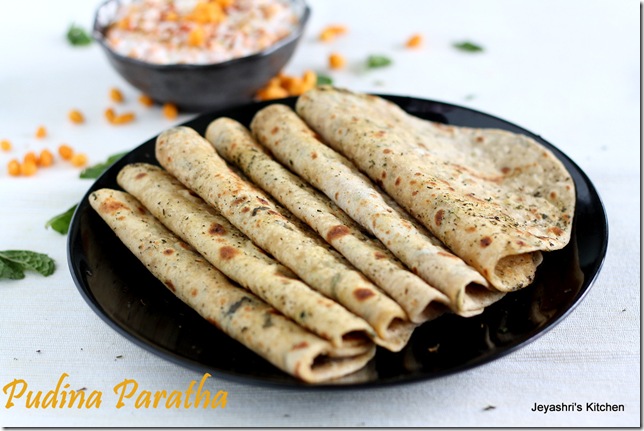
PUDINA PARATHA RECIPE

MINT FLAVORED INDIAN FLAT BREAD

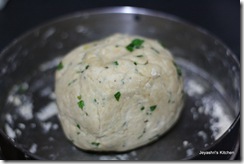
  Pudina paratha is one my favorite Indian flat bread and i used to order this whenever we go to restaurants. I wanted to try pudina paratha at home for a long time, but somehow it doesn’t happen and finally i made this last weekend it turned out very nice. I wanted to try this as  laccha paratha which is normally made in restaurants, but my laziness didn’t allow me and finally i rolled it into parathas.
Also check out
  1. Spinach laccha paratha
  2. Mexican paratha

pudina paratha
INGREDIENTS:(YIELDS-8 Medium sized parathas)
WHOLE WHEAT FLOUR(ATTA) 2 CUPS
SALT AS NEEDED
MINT LEAVES(Tightly packed) 2 CUPS
CHAAT MASALA 1/4 TSP
OIL 2-3 TSP
pudina-paratha

METHOD:
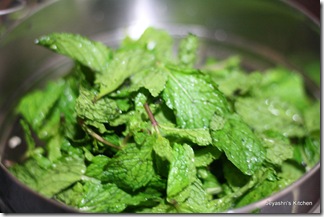
  • Wash the mint leaves and pat dry them.
IMG_5263
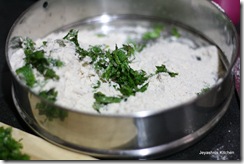
  • In a wide bowl mix the atta and salt.
  • Take half portion of the mint leaves and finely chop them.
  • Add this to the flour and knead it into a pliable dough adding required amount of water to this.
  • Add a tsp of oil and mix well. Cover it and keep it aside for 15 minutes.
IMG_5266 IMG_5268
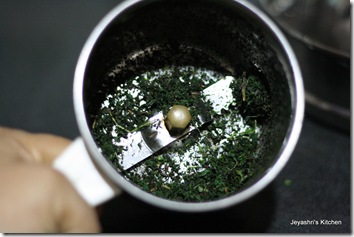
  • In a griddle |tawa, add the remaining mint leaves and roast them nicely.
  • Alternatively you can microwave this too for a few seconds.
  • When they become crisp take them out and just give a pulse in a mixer.
IMG_5271
  • Keep this in a small bowl and mix it nicely with chaat masala.
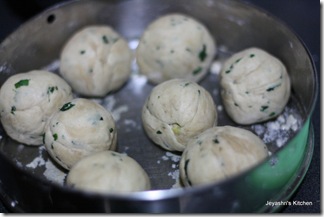
  • Divide the dough into equal parts.
IMG_5272
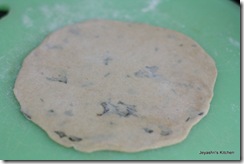
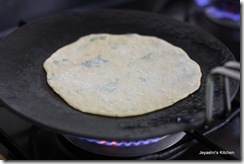
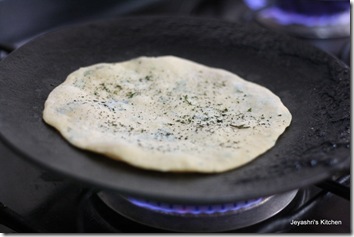
  • Roll it into little thick parathas and place it in a hot tawa.
IMG_5318 IMG_5321
  • Sprinkle the mint and chaat masala powder.
IMG_5322
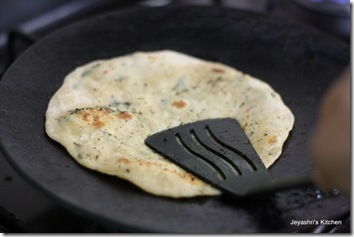
  • When cooked on one side flip on the other side and add little oil or brush with little oil.
IMG_5325
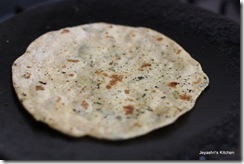
  • Sprinkle a dash of mint powder on the other side too and take out from the flame.
IMG_5326
  • Repeat the same process for the rest of the dough.
  • Serve with any SIDE DISH of your choice. We had with boondi raitha.
pudina paratha

Wednesday, May 30, 2012

HOW TO MAKE SOFT PHULKAS | ROTI(WITH VIDEO)

   Phulka| Chapathi| Soft rotis, fluffy unleavened Indian flat breads made with whole wheat. Phulkas or rotis are popular in almost every Indian cuisine. They can be had at breakfast, lunch or dinner. Filled with the wholesome goodness of wheat, they are extremely healthy and easy to digest even for the elderly. Ever since my in laws were diagnosed with diabetes, I started making phulkas regularly for dinner at home. Initially, getting perfectly round and soft rotis was a bit of a struggle. Like
for several other dishes, for phulkas too I got inspiration from my mom who is an expert at making them. With practice, you can get soft and round rotis used to be her mantra. After a few months of practice, I can confidently make soft and round phulkas/rotis. On request from a friend, I have posted a video of the recipe.
Check out the

phulkas
INGREDIENTS:
WHOLE WHEAT FLOUR 1 CUP
WATER AS NEEDED( APPROX 1/3 CUP)
SALT AS NEEDED
OIL 1 TSP
 ROTIS
METHOD:
  • In a wide bowl add the whole wheat flour( I used ashirvad atta) add salt and mix water slowly to make a pliable dough. Add a few drops of oil and cover the dough and keep it aside for 15 minutes to 1/2 an hour. 
  • The resting time will release more gluten from the dough and make it even soft.
  • While kneading the dough, do not press hard while kneading. Once it is fully done knead it hard by pressing it nicely.
IMG_2062-001 IMG_2064-001
  • Keep a small amount of flour for dusting and make the dough into equal balls.
IMG_2066
  • Roll them into round rotis dusting in the flour when needed. Do not dust too much as this will turn the roti dry.
IMG_2069 IMG_2071-001

  • Heat a non stick tawa and it should be in a medium low flame.
  • Place the rolled roti on the tawa on cook for few seconds and turn it on the other side.
  • Cook till you see small bubbles.
IMG_2074-001 IMG_2075-001
  • Take out the tawa from the stove and place this roti on the direct flame and you can see the roti puffs up.
  • When done on one side flip it and cook on the other side. This step you can get fast once you start practicing.
IMG_2079 IMG_2076-001
  • Repeat the same procedure for the rest of the roti dough balls.
  • Normally i use this type of tong to handle this hot phulkas.
  • Brush this with oil or ghee if you want, but without this also the rotis will stay soft.
IMG_2067-001
Here is the video of making puffed rotis. Kindly bear with the poor quality as it was taken early in the morning when i was making rotis for kids lunch box.
IMG_2097
  Video of how to roll phulkas

  • I served with paneer butter masala on that day. You can have with any SIDE DISH of your choice.
roti
Notes:
  1. While kneading the dough little milk can also be added as this will give very soft rotis.
  2. If using hot water for making dough, the rotis will be soft but you can not make soft rotis with the left over dough for the next day for making chapathi.
  3. While putting the rotis on direct flame be careful not to make any small tear roti else it won’t puff up.
  4. While putting the roti on direct flame flip it soon , if they get over cooked then it will be crispy as a papad.
  5. Some people will add a tblsp of yogurt while kneading the dough . As i haven’t personally tried this i don’t now how this will come out.
  6. The most important thing is making the dough in a right consistency.Ensure that it should be soft. If it is too watery also then you have to dust this too much and finally end up in making dry rotis.
  7. If it is hard then the rotis will become hard. With few times of practise you can get it right.
I am going on a break for 2 weeks and will be missing all the nice recipes around the blog sphere , i have scheduled few posts during this break time and see you back after a while.
Keep sending mails for any queries and keep visiting my space for new recipes

Friday, April 27, 2012

MISSI ROTI RECIPE

  Few weeks back when we went a nearby Indian restaurant for dinner I wanted to try something new and the kids  ordered their usual Garlic Naan and Panner Gravy. I was going through through  menu card and was inspired with this missi roti and we enjoyed  this roti very much. Yesterday when i was thinking what to make for dinner, the missi roti came to my mind and i tried and it turned out well. The taste was similar to the one we had in the restaurant.

missi roti

INGREDIENTS:(yields 10 –12 small rotis)

BESAN | GRAM FLOUR 3/4 CUP
WHOLE WHEAT FLOUR 1/2 CUP
AJWAIN | OMAM SEEDS 2 PINCHES
CUMIN SEEDS FEW
KASOORI METHI 2 PINCHES
CHAT MASALA 1/4 TSP
TURMERIC POWDER A PINCH
SALT TO TASTE
RED CHILLI POWDER TO TASTE
CORIANDER LEAVES FEW
OILL 1-2 TBLSP
MISSI ROTI

METHOD:

  • Sift both the flours for even mixing.
  • Add all the ingredients and add water ( approx 1/2 cup minus 2 tblsp) to make it into a soft dough.
IMG_0727 IMG_0728
  • Keep it covered and set aside for 10 minutes.
  • Make equal sized balls.
  • Roll  this into slightly thick rotis ( Since i wanted my rotis to be more cute i made them into a perfect round with the the lid of a box.)
  • IMG_0730 IMG_0732

  • Heat a tawa and cook the rotis till brown spots appear on both sides.
  • Brush with oil on both sides.

IMG_0733

missi roti

Note:

  • Finely chopped onion can be added to the dough.
  • You can adjust the spices according to your taste.
  • Finely chopped green chilli can be added instead of redchilli powder.