Saturday, May 4, 2013

SIDE DISH FOR IDLI|DOSA |APPAM–EASY CHUTNEY|SAMBAR RECIPES

A compilation of side dish for idli | dosa | aapam | pongal and other south indian breakfast recipes. This post will be updated whenever i post side dish for Idli|dosa|appam . Scroll down to see the new recipes . Click the pictures to get the recipes:
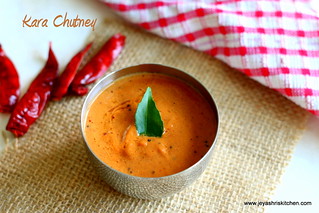
kalyana-gothsu kara -chutney
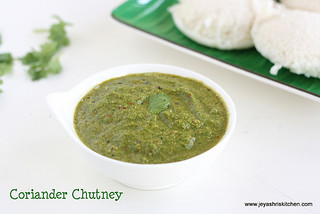
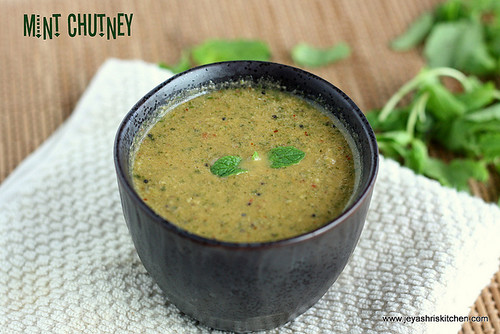
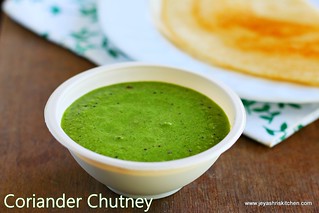
coriander chutney pudina chutney
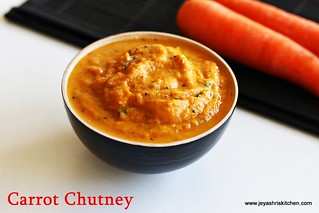
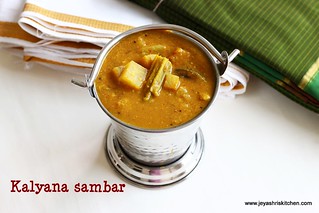
Carrot-Chutney Kalyana-sambar
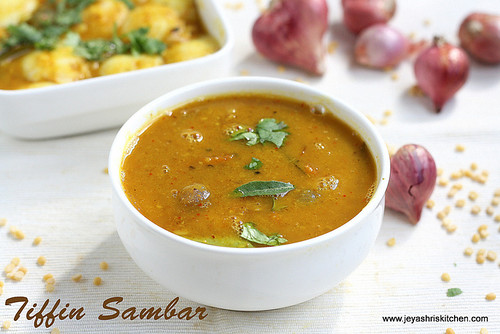
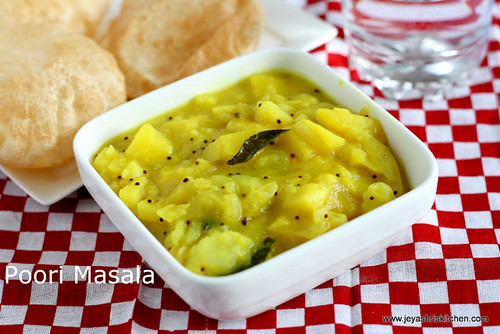
tiffin sambar potato masala
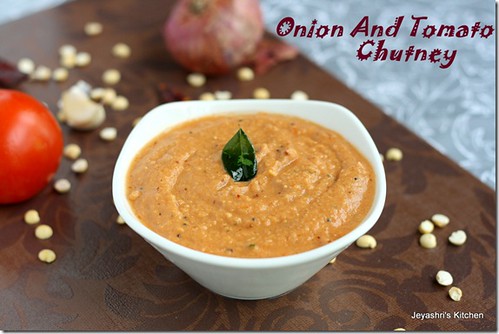
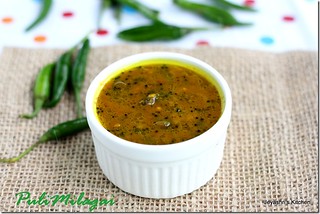
tomato onion chutney puli milagai
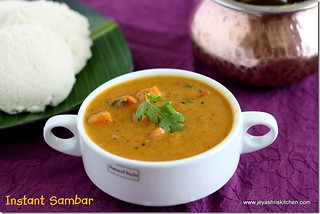
instant sambar Garlic chutney]
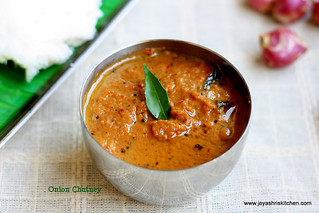
Brinjal Gotsu onion -chutney

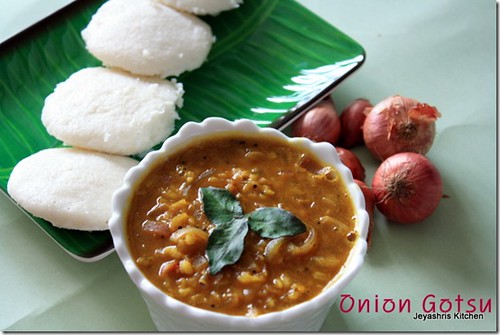
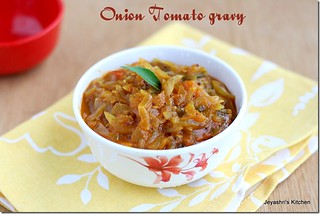
onion gotsu onion tomato
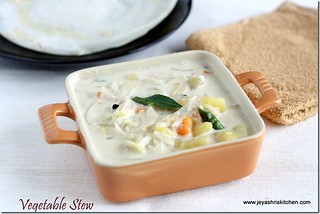
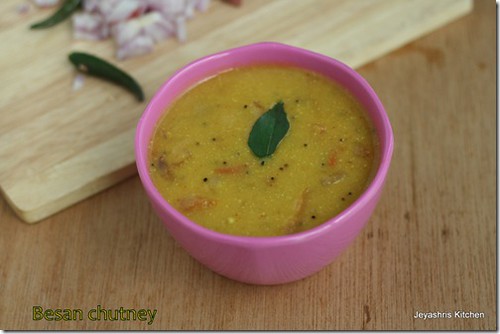
Veg stew Besan chutney
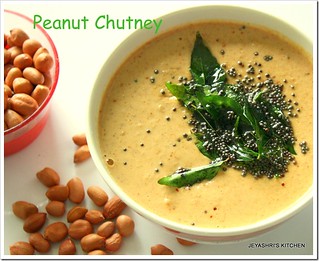
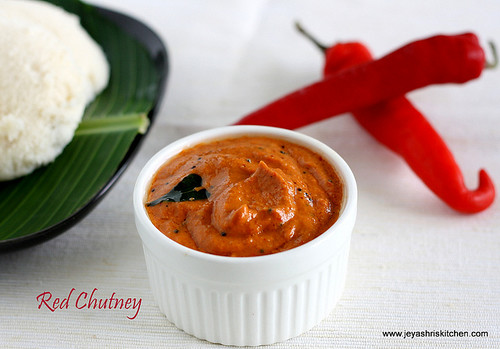
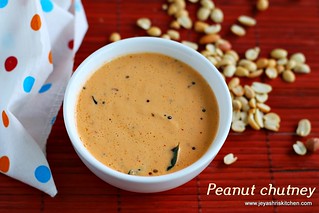
peanut chutney Red jalapeno chutney
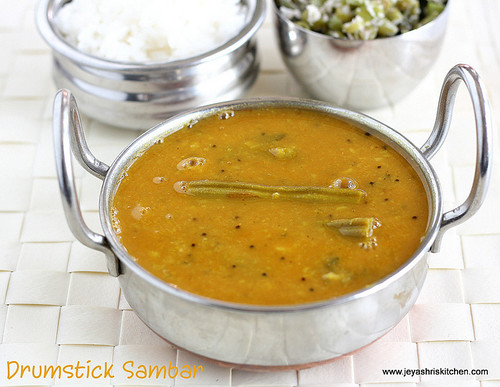
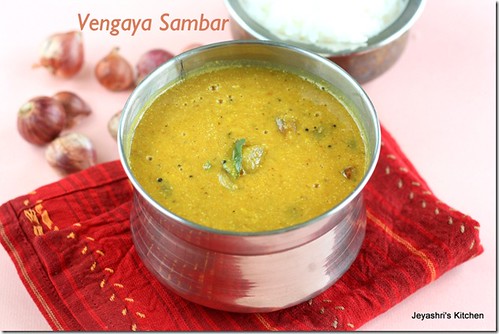
drumstick sambar vengaya sambar
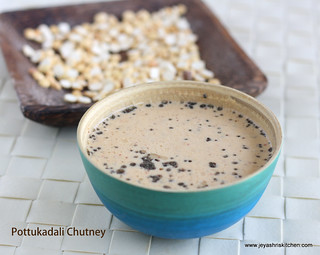
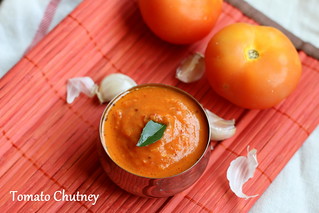
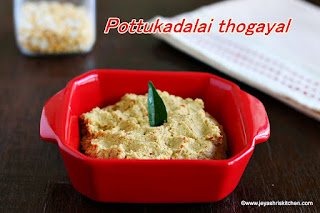
Pottukadalai chutney Tomato chutney

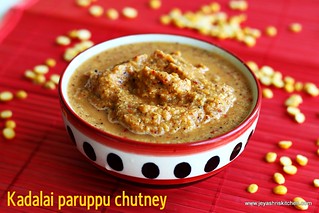
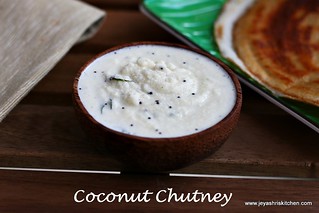
coconut-chutney Kadalai-paruppu-chutney

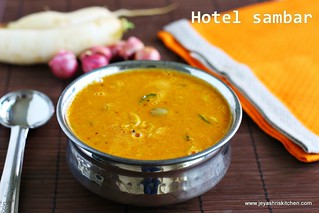
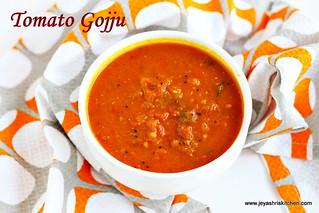
hotel sambar Tomato gojju
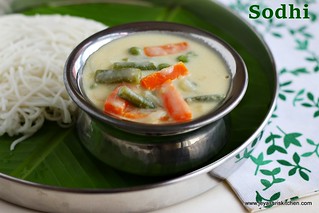
Sodhi-recipe Kothamalli chutney
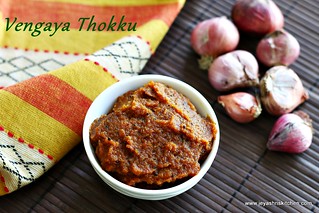
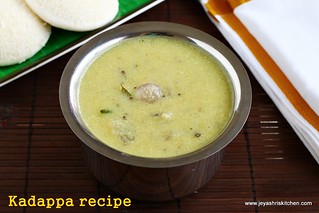
Onion-thokku Kumbakonam kadappa
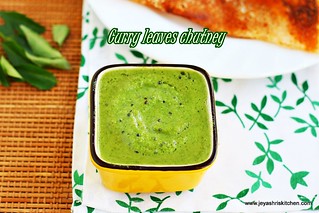
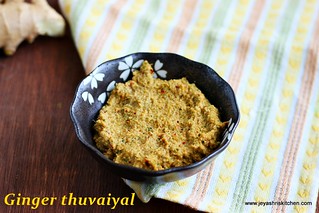
Curry leaves - chutney Ginger thogayal
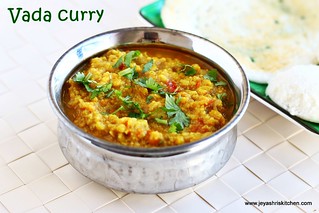
Vada-curry tomato peanut chutney
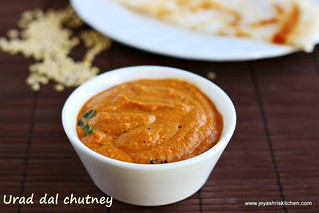
urad dal chutney
 Coriander chutney
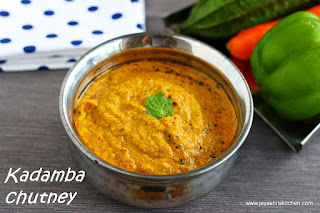
 Kadamba chutney
 Pottukadalai thuvayal
 Vendakkai sambar
 Thakkali sambar

 Red coconut chutney
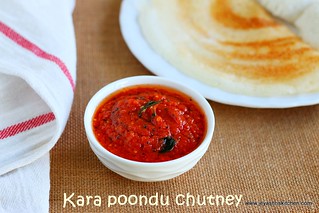
Kara poondu chutney
 Mint coriander chutney

 Tomato Ginger Chutney
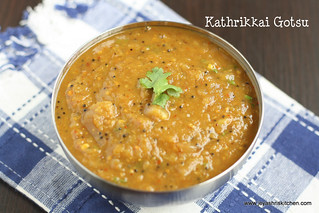
 Tomato Gotsu
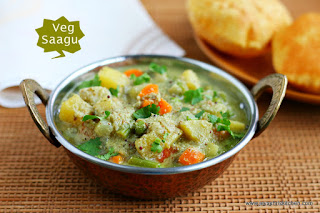
 Vegetable saagu

Thursday, May 2, 2013

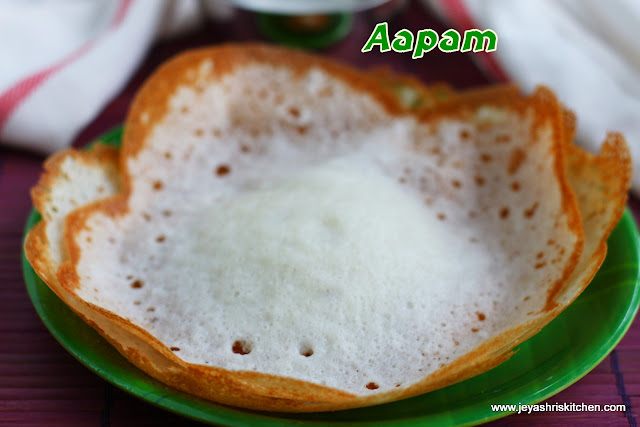
Aapam recipe, No yeast aapam recipe

SOUTH INDIAN BREAKFAST RECIPES

Recipe updated with a video on how to make appam

Aapam, a popular breakfast recipe in Kerala and Tamil nadu a Soft, lacy  pancakes that are spongy in the centre and crispy at the corners, made using a fermented batter of rice, udad dal and coconut. . This recipe involves natural fermentation of the batter and does not include any yeast. A perfect no yeast aapam recipe for those who do not like its smell or flavor. I have never been a great fan of Aapam but decided to give it a try as my husband likes it. I got the main recipe from my mother, who makes it often for my sister. I customized the taste to my liking and landed up with super spongy Aapams. Over to the recipe of how to make a soft, spongy, no yeast aapam. 
Also check out our popular South Indian breakfast recipes 


Aapam- recipe


Appam recipe

  Preparation Time : 10 mins + soaking time 6 hrs | Cooking Time : 3 Min per appam |Serves: 5

     Sona masoori rice | raw rice  1 cup
     Idli rice | par boiled rice   1 cup
     Urad  dal   1/4 cup
     Poha | aval  1/4 cup
     Coconut  1/2 cup
     Cooking soda | baking soda  1/2 tsp
     Salt  as needed
     Sugar  2 tsp
                                                 Video on how to shape aapam


aapam - recipe

Method: 
  • Wash and soak the rice, urad dal and poha for 5-6 hours.
  • Grind it into a smooth paste along with the coconut.
  • Add salt and keep it aside for fermentation.
  • It took 5-6 hours for me to get the batter fermented.
  • It depends on the weather conditions of the place you live in.
  • Add cooking soda, sugar just before making. 
  • If making a small portion add only to that portion.
  • The consistency should be like a dosa batter.
  • Keep an aapam pan ready on the stove top.  The pan should not be too hot.
  • You can even  use a normal deep pan. I used non stick aapam pan.
  • Pour batter towards the centre of the pan and rotate the pan to spread the batter.
  • Cover the pan with a lid and after few seconds you can see the aapam got cooked in the centre and  lacy borders on the sides.
  • No need to flip it on the other side. Take it out from the pan using a butter knife or a ladle. 
  • Aapam is ready to serve now.

Note:
  1. You can make it as a normal dosa too , if you are not comfortable in making aapams in pan.
  2. Making proper shapes comes purely by practise so do not worry about that.
  3. Instead of adding coconut while grinding, you can add coconut milk before making the aapams. In this version, if you have anyone at home who do not like aapam , can be served dosa .
     

Tuesday, April 30, 2013

HARA BHARA KABAB| HARA BHARA KEBAB RECIPE

Hara bhara kabab is a potato, spinach and green peas patties usually made for starters or tea time snacks. Few months back during India trip my  brother in law was casually telling me that my co-sister is good in making this hara bhara kebabs. Though is a doctor by profession ,she is a very good cook too. I noted the recipe of Hara bhara Kebab from her and i tried it once after coming back home. But that time i had some problem with my camera, somehow couldn’t get the pictures of the kebab on that day. After that i thought of trying but some how, any one ingredient will be missing in my pantry.So finally today i have all ingredients to make this hara bhara kabab and most importantly have mood to make this too,i made today and   i am posting the recipe of how to make hara bhara kebab.


Saturday, April 27, 2013

PINEAPPLE RAITA |PINEAPPLE RAITA RECIPE

Pineapple raita is an interesting rata which i happened to taste in a Indian restaurant in Bali, 3 years back. After that i totally forgot about this pineapple raita. Recently , i suddenly remembered this while seeing our trip album and that day to my luck i had fresh pineapple with me at home. So i asked  my friend about this recipe, who makes it at her place. Yes i have good friends around from all different parts of India, so they are always at my help whenever i have any queries.Smile

So let us see how to make Pineapple raita.

Pinapple raita recipe

INGREDIENTS:

PINEAPPLE(CUBED) 3/4 CUP
YOGURT | CURD 3/4 CUP
RED CHILLI POWDER 1/4 TSP
SUGAR 1/4 TSP
CUMIN SEED POWDER 1/4 TSP
CHAAT MASALA 2 PINCHES
SALT TO TASTE

Pineapple + raita 2

METHOD:

  • Hung the curd for 10 minutes to take out the extra water. this step is truly optional. I just kept the curd on a big filter.
  • IMG_6137
  • Take the yogurt in a wide bowl.

IMG_6140

  • Add salt, sugar, red chilli powder,jeera powder and chaat masala.

IMG_6141

  • Mix well.

pineapple raia

  • Add the pineapple cubes and mix well. Serve chilled with any spicy biryani or you can have this as it is.
IMG_6139 pineapple raita
  • Serve chilled with any spicy biryani or you can have this as it is.

     Pienapple raita  NOTE:

  1. Hanging the curd will give a creamy raita.
  2. The amount of spices can be altered according to your taste.


Thursday, April 25, 2013

CHOCOLATE BISCOTTI RECIPE |EGGLESS BISCOTTI RECIPE

Biscotti , is more like our Tea rusk , which are baked twice. Very recently i got a mail from a reader who is a teenage girl almost of Varsha’s age , requesting me to post some chocolate recipes as she is a big fan of chocolates. She tried few baking recipes from here too. Recently when we went out, in a cookie shop i saw chocolate biscotti but they were not eggless. So i wanted to try this at home  and it turned out perfect and tasted so well. I adapted the recipe from here.  so let me share the recipe of chocolate biscotti – without eggs and without butter too.
Eggless chocolate biscotti recipe


Actually the original recipe is Double chocolate Biscotti, since i didn’t have choco chips in hand i added almonds instead of chocolate chips
INGREDIENTS: [10 BISCOTTI]
ALL PURPOSE FLOUR 1 CUP
COCOA POWDER 1/4 CUP
BAKING POWDER 3/4 TSP
BAKING SODA 1/4 TSP
VANILLA ESSENCE 1/2 TSP
SUGAR 1/4 CUP
ALMONDS 1/4 CUP
OIL 1/4 CUP
WATER 4-5 TBLSP
Chocolate almond biscotti

METHOD:
  • Sift the flour, cocoa powder,baking powder and baking soda.
  • In a mixer, pulse the almonds and add to the flour mix. If using chocolate chips instead of almonds add it now.
biscotti step 1 biscotti
  • In a bowl, add water, vanilla essence, sugar and oil.
  • Mix well till the sugar dissolves. If u want u can powder the sugar and add.
  • When the sugar gets dissolved, add this mixture to the flour and cocoa powder mix.
Biscotti Biscotti
  • Knead this into a dough.
  • Place it on a baking sheet |butter paper. Divide it to2 equal portions as a log.
  • Flatten the logs. Bake this in 160 degree preheated oven for 25 minutes.
  • After the first bake, the biscotti loaves should be firm and very lightly browned, but not hard.
biscotti biscotti
  • Slice it diagonally for long biscotti or across for short one using a sharp knife.
  • Arrange them in the cooking tray in a parchment paper and again bake them for 10 minutes at 130 degrees C.
Biscotti biscotti
  • Turn it aside or you can keep the rack in the centre and turn on the heat to up and down for few minutes.
Chocolate biscotti 2
  • the second time bake is to dry out the cookies so bake it in a low temperature to get crispy biscotti.
  • this can be stored in a air tight container for few weeks.
Note:
  1. If you feel the dough dry and not coming to make a whole mass while kneading, sprinkle 1-2 tsp of water.
  2. Never chop the biscotti loaf when it is hot.
  3. Use sharp knife to cut the loaf.
  4. You can add any nuts of your choice and add orange zest too and replace water with orange juice also.
  5. While cutting the biscotti loaf it may crumble too. do it slowly and carefully.