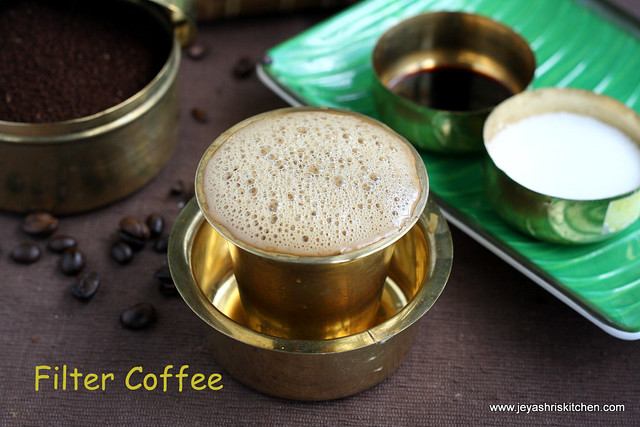
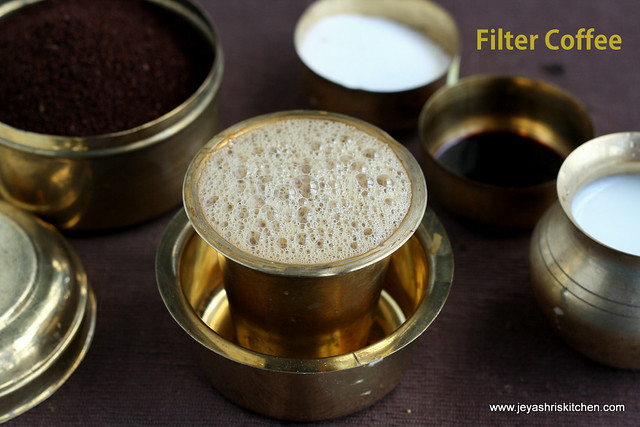
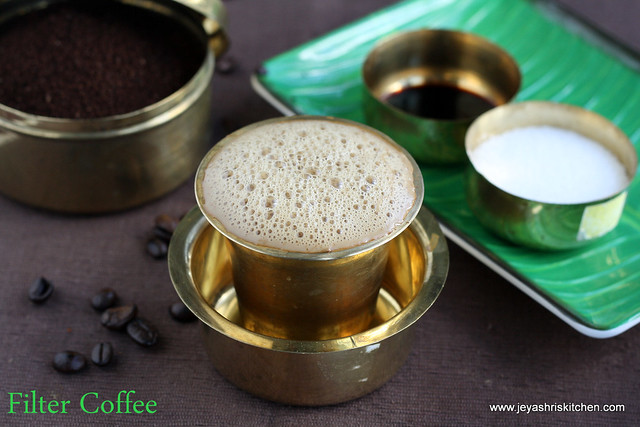
Filter coffee , the name itself makes me refreshing. Though we don’t have filter coffee everyday morning but it is a must at my place during weekends. But in my mom and mil’s place everyday we make filter coffee. I am pretty confident in making a good filter coffee and i learnt a few tips from my mom to make a perfect filter coffee. Though amma makes it normal stainless steel filter, i got introduced to the Electric coffee maker by my Mil. Now a days i use only the electric coffee maker only as it is easy to handle when it is very hot too. So i am sharing today the recipe of how to make filter coffee both in steel filter and electric coffee maker. My sister was insisting me to write this post for a long time and finally i am sharing the recipe of filter coffee today.
The making of filter coffee comes mainly by practise and knowing the do and don’ts involved in this recipe. The quality of coffee powder also plays an important role in this. Here in Singapore i use the Kothas coffee powder regularly and in India we get from particular shop in West mambalam, chennai who grinds the coffee beans freshly and give. Even the Cafe Coffee day powder also works out well for a good filter coffee.
I am just sharing the measurement of the coffee powder which i use here and it may slightly vary from the different varieties of powder available in the market. Once u make continuously for 3- 4 days you come to know about your coffee powder.
INGREDIENTS:
METHOD: USING STAINLESS STEEL FILTER
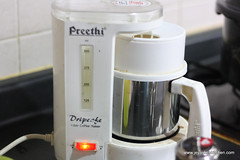
MAKING FILTER COFFEE IN ELECTRIC COFFEE MAKER:
I use the preethi coffee maker for a so many years and it works out quite well.
They give one small and big filters to wherein you have to put the coffee powder. Generally i use the small one , but if you are making for more than 5 people then use the bigger one.

Notes:
The making of filter coffee comes mainly by practise and knowing the do and don’ts involved in this recipe. The quality of coffee powder also plays an important role in this. Here in Singapore i use the Kothas coffee powder regularly and in India we get from particular shop in West mambalam, chennai who grinds the coffee beans freshly and give. Even the Cafe Coffee day powder also works out well for a good filter coffee.
I am just sharing the measurement of the coffee powder which i use here and it may slightly vary from the different varieties of powder available in the market. Once u make continuously for 3- 4 days you come to know about your coffee powder.
INGREDIENTS:
| COFFEE POWDER |
| WATER |
| SUGAR |
| MILK |
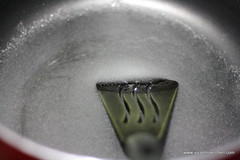
- Heat the upper part of the coffee filter ( the part with holes) for a 3-4 seconds.
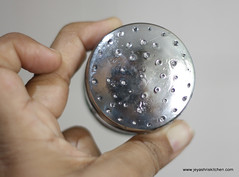 |  |
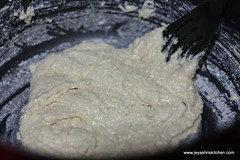
- Place it over the down part and add 1/4 tsp of sugar to top portion. Adding sugar is purely optional. If you have any diabetic people around do not add sugar. The addition of sugar is to give thickness to the decoction.
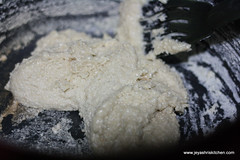
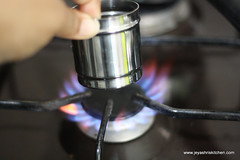
- Add 1-2 tblsp of coffee powder to this and bring the water (approx 1/4 cup) to a nice rolling boil. Add the very hot water to the filter and slightly cover this with the lid.
- Always pour the hot water around the sides. Do not pour in the center. Pouring from the sides will make the decocotion to flow smoothly from the filter.
 | 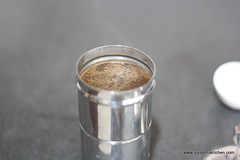 |
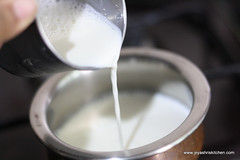
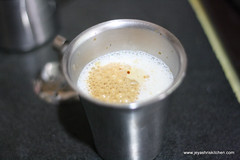
- After few minutes the decoction will be ready. Boil the milk till it comes up and pour it to a tumbler. Add the decoction (generally the first decoction will be strong and so you can add little only.) to the milk. Add sugar. Do not add more than 1/2 tsp of sugar for 1 cup of milk . the more the sugar you add it will suppress the flavor of coffee. Even sometimes my mom skips adding sugar as we add sugar while making decoction.
 |  |
- Froth it up by nicely giving a mix using another tumbler. Do not over do as it may end up in cold coffee
 .
.
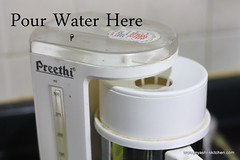
MAKING FILTER COFFEE IN ELECTRIC COFFEE MAKER:
I use the preethi coffee maker for a so many years and it works out quite well.
They give one small and big filters to wherein you have to put the coffee powder. Generally i use the small one , but if you are making for more than 5 people then use the bigger one.
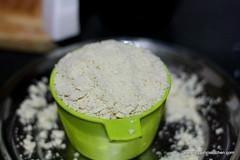
- Insert the small filter cup into the big one.
- Add the coffee powder (approximately 2 tblsp)
- Place it on the coffee maker.
 |  |
- Switch on the filter and it will just 3-4 minutes to get the decoction ready.
- Switch off when the red light in the electric coffee maker turns off.
- Follow the same step as we followed in the last stage as boiling milk, adding sugar and decoction and froth it up.
Notes:
- We generally use full cream milk for filter coffee.
- Do not more water to the filter as it will end up in making thin decoction.
- Never heat up the decoction , if you want to heat it up just keep it in very hot water for few minutes.
- Always boil the milk freshly and the reheated milk will spoil the taste of fresh filter coffee.
- Even while reheating the milk too , do not do directly, just place the milk in a cup over a cup of water in a wide saucepan and heat the water .
- Never reheat the coffee too as it will not at all taste good.Do not add sugar to the milk while boiling.
- you can store the decoction in the fridge for a day.