Showing posts with label Tried From other Blog. Show all posts

Wednesday, August 29, 2012

EGGLESS VANILLA SPONGE CAKE RECIPE | BASIC CAKE RECIPE | NO EGG NO BUTTER RECIPE

  Few days back when i was talking to my friend who recently got a baking oven, asked me a recipe of a basic cake recipe. I suggested a few eggless baking recipes from my blog . But i wanted to try a a basic eggless vanilla sponge cake too. I already tried this Vanilla sponge cake from here and i thought i will make it again and blog the recipe too.
This cake turned out super soft and moist. I wanted to bake it in a loaf pan, but ended up baking in a round spring foam pan only. I added little tutti fruitty to the cake. You can skip that and bake a plain cake too.
While uploading the pictures i realized that this is my 300th post too.
Thanks Sharmi for the perfect recipe. We enjoyed the cake very much.

Eggless vanilla cake


INGREDIENTS:
ALL PURPOSE FLOUR(MAIDA) 1 AND 1/2 CUP
YOGURT 1 CUP
SUGAR 3/4 CUP
BAKING SODA 1/2 TSP
BAKING POWDER 1 AND 1/2 TSP
COOKING OIL 1/2 CUP
VANILLA ESSENCE 1 AND 1/2 TSP
MILK 1 TSP
TUTTI FRUITY 1 TBLSP(Optional)
VANILLA CAKE
METHOD:
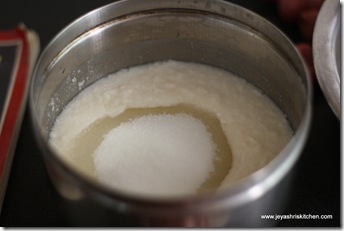
  • Cream sugar and yogurt ( use yogurt in room temperature) till the sugar gets dissolved.
IMG_7566
  • Add baking powder and baking soda to this mixture and mix well.
  • Keep it aside for 5 minutes.
  • Add vanilla essence.
  • Add oil to this.
IMG_7572
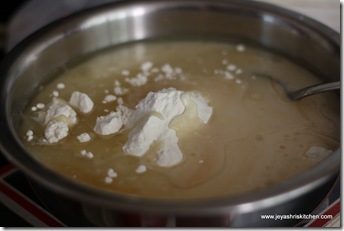
  • In a wide bowl add the flour and slowly add the wet mixture to the flour.
IMG_7573
  • Mix well to get a creamy texture.
  • Add tutti fruity to this and mix well.( if using)
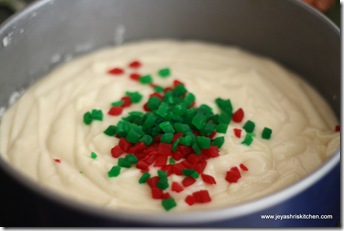
IMG_7575
  • Pre heat the oven to 180 degree C for 10 minutes.
  • Grease the baking pan and dust it with flour.
  • Transfer the cake mixture to the baking tin.
  • Bake it for 35 –40 minutes at 180 degrees C till the center gets completely cooked. Check it by inserting a tooth pick in the center. If it comes out clean then it is cooked.
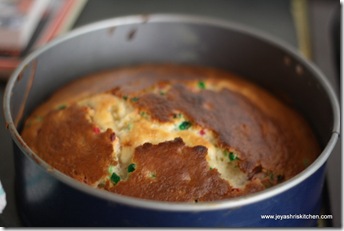
IMG_7577
  • After 20 minutes just brush the top of the cake with milk to get a glaze.
  • when it is completely cooled keep it in the refrigerator for 3 hours and cut the cake.
  • This step will make it to get perfect pieces without crumbles.
  • But i didn’t do as i have to click soon as the weather was getting bad and it was about to rain. (Natural light will work out best for pictures)

vanilla cake
Note:
  • Never allow the batter to sit for a long time as this will make the cake hard.
  • 3/4 th cup of sugar is normally perfect but  i prefer to have little extra and so you can make it as 1 cup also.
  • The taste of yogurt will not be felt in the cake so you can move on to try out this recipe without any second thought.

Sunday, August 19, 2012

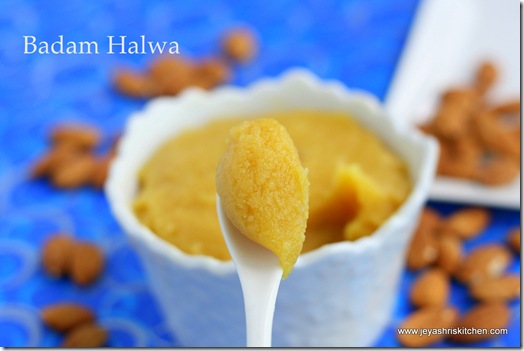
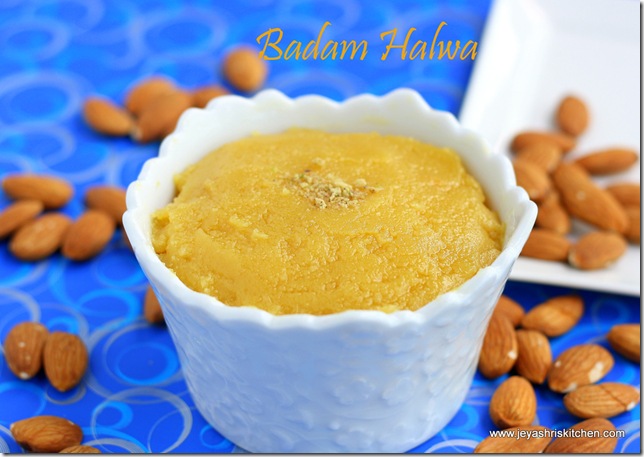
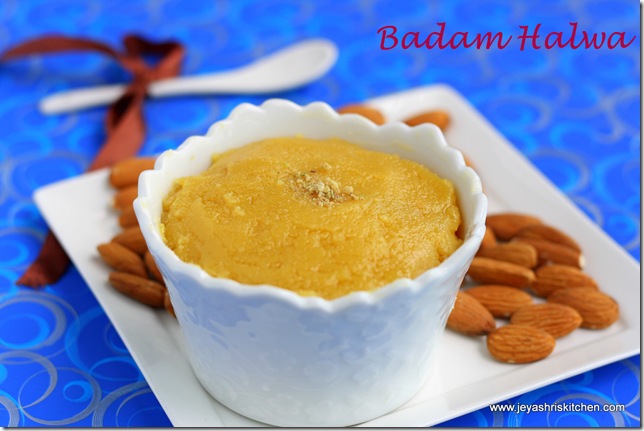
BADAM HALWA RECIPE | CELEBRATING 3 YEARS OF BLOGGING

  Today my blog turns 3 and i wanted to celebrate the occasion with a sweet. Before going into the recipe, I extend my heartfelt thanks to Raji of Raks Kitchen who motivated me to start my own blog and  cleared even my silly doubts patiently in all times. When i came to Singapore 4  years back the cyber world is totally new to me and I don’t know anything other than checking of emails. Then slowly when I started searching recipes on Google I came across Rak’s Kitchen and started chatting with her. Then we exchanged phone numbers and started sharing even many things apart from food.  Slowly after a year with lot of motivation from her side I  started my own blog and moved into my own domain after 2 years of blogging.
My family is a great support to me and Suresh encourages me a lot in each and every step. During my India Trip few months back , i wanted to design a Visiting card for me and I was very surprised to see the enthusiasm in Suresh and my daughter Varsha in designing the card.  Varsha who loves variety of food and have little interest in cooking and because of her I started trying out more dishes other than Traditional South Indian Dishes. My little one Varun is slowly gaining interest in food but he always say “Baby you are an awesome cook”!!
Most of my cooking are inspired from my Mom who is an awesome cook and cooks for a huge crowd effortlessly. Many times i silently observed her the way she cooks and i have  learnt a lot from her too.
I am happy to have a good circle of friends in the blogging sphere who motivates me a lot in each and every step . I extend my heartfelt thanks to all my readers, friends and followers and all my fellow bloggers who visit my space and  try out my recipes .
So now coming to the recipe, I tried badam halwa from Raks Kitchen and it turned out so well and i loved the texture and the taste very much.
Also check out my


badam halwa
INGREDIENTS:
BADAM |ALMONDS 1/2 CUP(Heaped)
SUGAR 1/2 CUP(Heaped)
GHEE 1/4 CUP
MILK 1/4 CUP
CONDENSED MILK 3 TBLSP(OPTIONAL)
YELLOW FOOD COLOR or SAFFRON A PINCH
CARDAMOM POWDER A PINCH
BADAM HALWA

METHOD:
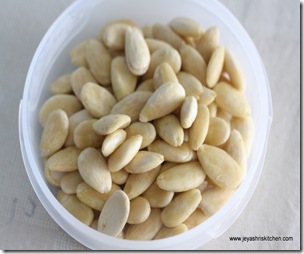
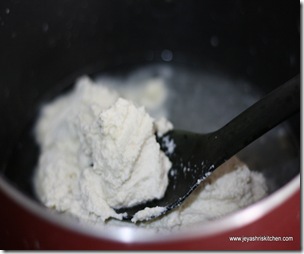
  • Soak the badam in hot water for an hour.
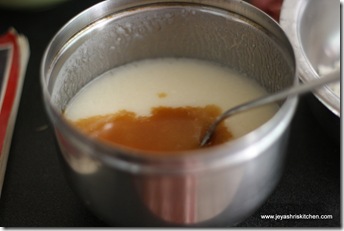
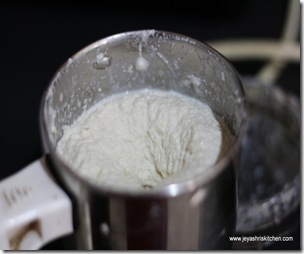
  • Take out the skin and grind this into a smooth paste by adding milk to this.
IMG_6975-001 IMG_6977-001
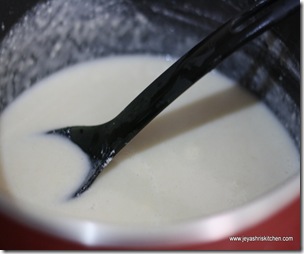
  • In a heavy bottomed deep vessel ( i used a non stick one) add the sugar and add 1/2 cup of water. Boil till the sugar dissolves and when it is completely dissolved lower the flame and add the ground almond paste.
IMG_6982-001 IMG_6983-001 
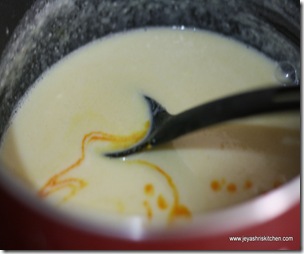
  • Mix this without any lumps and the condensed milk(if using) , food color and cardamom powder. If using saffron soak it in warm milk for 10 minutes and add. I didn’t use cardamom powder.
IMG_6984-001 IMG_6985-001
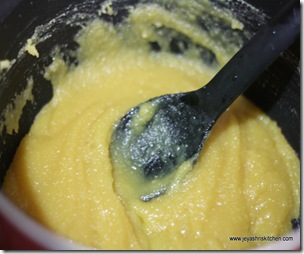
  • Stir it continuously and slowly start adding ghee to this.
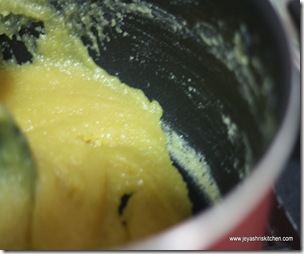
  • When you see white colour bubbles on the sides of the pan switch off the flame and transfer it to a greased plate or bowl.
  • The entire process will take 3-4  minutes. Keep the flame medium low.
IMG_6989-001 IMG_6990-001
  • I added a dash of Everest Milk Masala at the end to enhance the flavor.
  • You can store this in the refrigerator for 4 – 5 days. Just warm it up in the Microwave before eating which gives the perfect taste of badam halwa.
badam halwa
Note:
  • Adding the right amount of ghee will give a nice texture to the halwa and so add it as per the quantity mentioned.
  • Once it cools down it will be thickened, wait for a while to get the perfect texture.

Wednesday, July 18, 2012

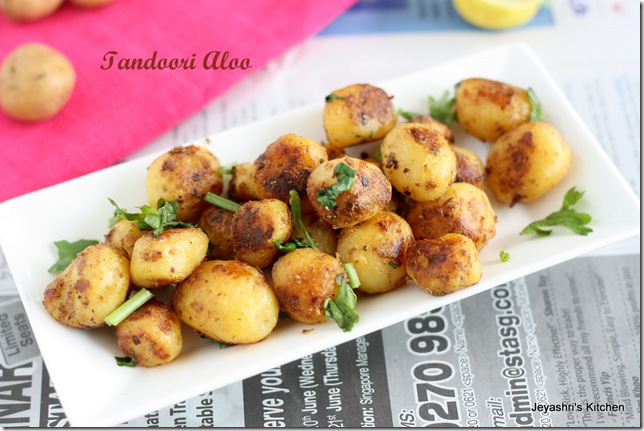
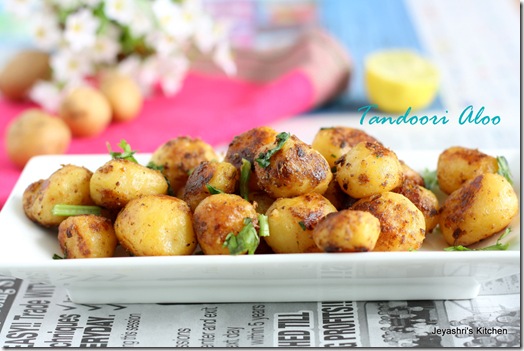
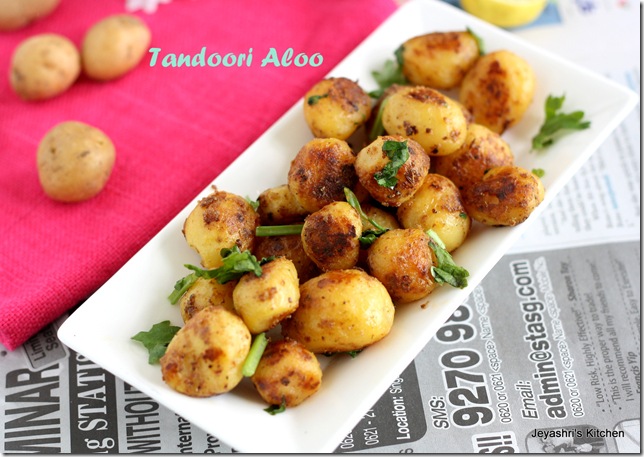
TANDOORI ALOO RECIPE

   Potatoes are always find place in all parties and this tandoori aloo recipe is a wonderful starter for a party and can be had as an accompaniment to rice| puloas too. I saw this recipe of tandoori aloo in Laskhmi's place and i bookmarked this and waiting to try this. Last week i got cute baby potatoes from the market and tried this yesterday morning . Tandoori aloo turned out so crisp and yum.
I tried this recipe both in oven and stove top and i was pretty happy with both the results.. Couldn’t take step wise pictures as i was in a hurry and it was a weekday morning. But will update soon with stepwise pictures.
Lakshmi made the tandoori masala by herself and  me being a lazy person didn’t do this and used store bought tandoori masala.
This recipe can be made with normal big potatoes too .
tandoori aloo
INGREDIENTS:
BABY POTATOES 25 NO
GINGER GARLIC PASTE 1/2 TSP
YOGURT 2 TBLSP
TANDOORI MASALA POWDER 1 TSP
RED CHILLI POWDER 1/2 TSP
SALT 1/4 TSP
OIL 1 TSP
CORINADER LEAVES FEW
TANDOORI ALOO

METHOD:
  • Par boil the potatoes and when done peel off the skin.
  • In a bowl mix the yogurt , tandoori masala powder,ginger garlic paste, redchilli powder and salt.
  • Pour this over the parboiled potatoes and marinate for 8-10 hours, preferably overnight.
  • This is very important so that the masala will get into potatoes.
  • Grease your baking tray or line in the tray with aluminum foil.
  • Bake for 5 to 7 minutes in a preheated oven at 180 degrees C.
  • Turn the potatoes and bake for another 5 minutes.
ATERNATIVELY you can make this on stove top too .
  • In a non stick pan add a tsp of oil and throw in the marinated potatoes.
  • Cook for 5 minutes in medium flame and carefully turn over this without mashing the potatoes.
  • Cook till you find golden spots on all sides.
  • Garnish with chopped coriander leaves if you want.
  • Enjoy as a starter with Dip of your choice.
aloo

Monday, July 16, 2012

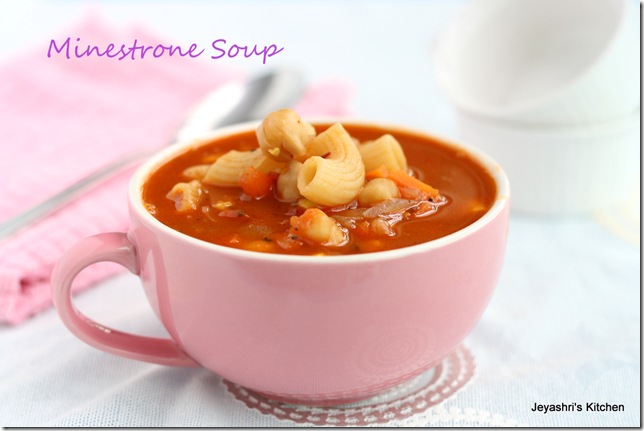
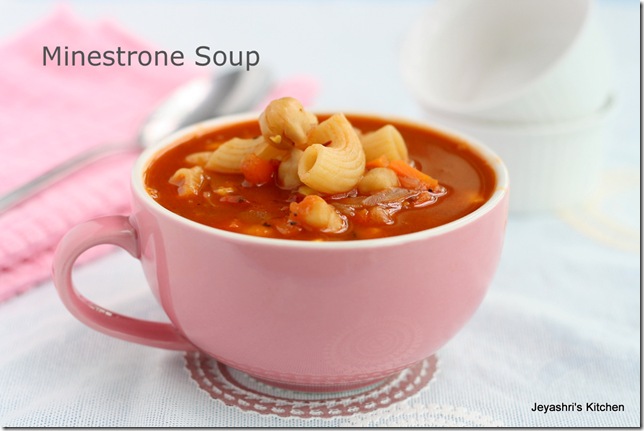
MINESTRONE SOUP RECIPE | VEGETABLE MINESTRONE SOUP RECIPE

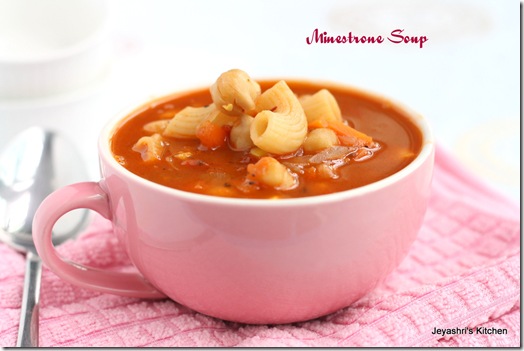
   Whenever we go to Pizza hut here, we order this minestrone soup and i was searching for a perfect and easy recipe for vegetarian version of minestrone soup. I bookmarked the recipe from here. This minestrone soup tasted awesome and was quite filling too.
minestrone soup
INGREDIENTS:(SERVES 3-4 )
ONION 1 NO.
TOMATO 2 NO
TOMATO PASTE | TOMATO SAUCE 2 TSP
GARLIC 1 NO
CARROT| CORN|BABY CORN 1/2 CUP(FINELY CHOPPED)
PASTA A FISTFUL
CHICK PEAS A FISTFUL(SOAKED OVERNIGHT)
ITALIAN SEASONING 1 TSP
SALT AND SUGAR TO TASTE
PEPPER POWDER 1/4 TSP
CHILLI FLAKES 1/2 TSP
OLIVE OIL 1 TSP
SOUP

METHOD:
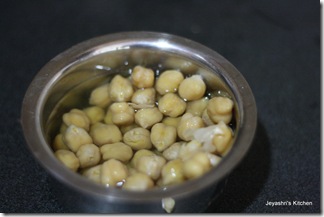
  • Soak the chick peas for 6 to 8 hours and pressure cook them for 3 whistles.
IMG_4984
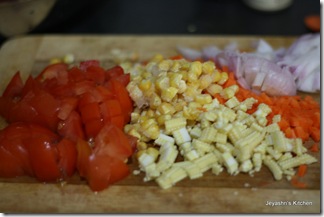
  • Chop the onions, tomatoes and the veggies finely.
  • You can use any veggies of your choice.
  • Finely chop the garlic too.
IMG_4977
  • In a pan add oil and  throw in the minced garlic, italian seasoning and pepper.
  • Add onions and saute for few minutes till it becomes translucent.
IMG_4979 IMG_4981
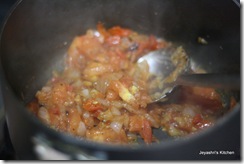
  • Now add the chopped tomatoes. and saute for few minutes.
  • Saute till the tomatoes turn soft.
IMG_4982 IMG_4983
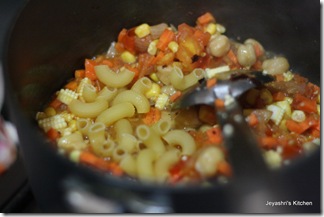
  • Add the chopped veggies,pasta , cooked chickpeas and add 2 cups of water.
IMG_4985
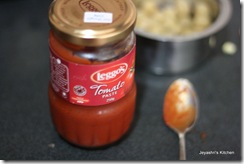
  • Add the tomato paste to this and mix well.
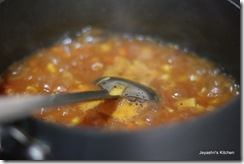
  • Cook in medium flame for 10 to 12 minutes.
IMG_4986 IMG_4987
  • Soup is ready to serve now.
  • This soup was very filling .
minestrone soup
Note:
  • Chick peas can be replaced with red kidney beans or black beans.
  • Any variety of pasta can be used.

Sunday, July 8, 2012

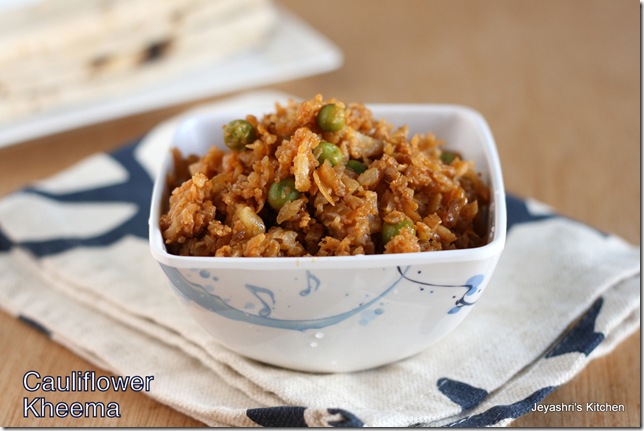
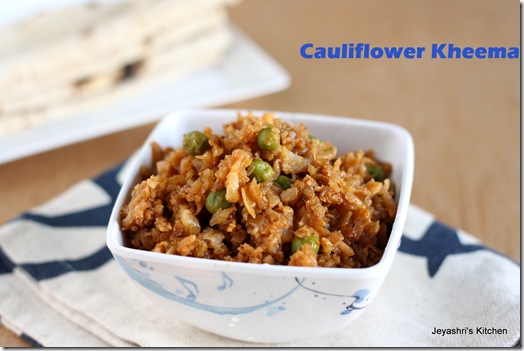
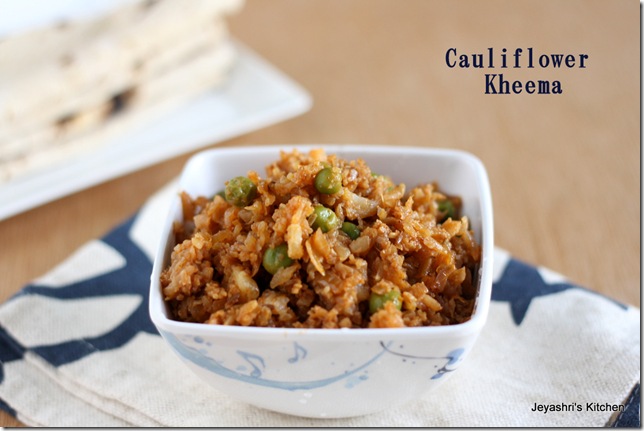
CAULIFLOWER KHEEMA RECIPE |GOBI KA KHEEMA| SIDE DISH FOR ROTI

       Last week i have 2 packets of cauliflower which was passed to me by my friend , who was leaving for a holiday and I washed them and grated and planned to make Gobi paratha for kids lunch box the next day morning. But when my little one who is a very picky eater wanted to have chapati and side dish. As the next day is  the first day of the school after the holidays i don’t want to disappoint him and was searching for a recipe with the grated cauliflower and came across an interesting recipe here. This turned out super yum and both the kids loved this.
Also check out my

gobi kheema
Serves 2-3
GRATED CAULIFLOWER 2 CUPS
GREEN PEAS 1/4 CUP( FROZEN)
ONION
TOMATO PUREE or TOMATO  3 TBLSP or 1 tomato
GINGER GARLIC PASTE 1/2 TSP
RED CHILLI POWDER 1/2 TSP
CORIANDER POWDER 1/2 TSP
CUMIN SEED POWDER 1/4 TSP
OIL 1-2 TBLSP
GARAM MASALA 1/4 TSP
Cauliflower-kheema

METHOD:
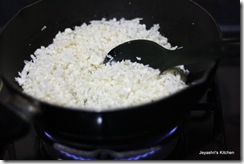
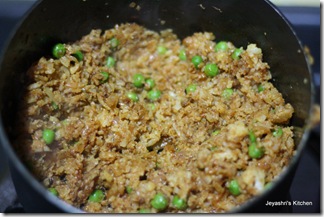
  • In a pan add little oil and saute the grated cauliflower till it becomes slight golden brown.
IMG_4435 IMG_4442
  • Keep it aside. Chop the onions finely.
  • In a pan, add oil and add the chopped onions.
  • When it becomes pink in color add the ginger garlic paste and fry till the raw smell goes and the onions become golden brown . Keep the flame medium.
IMG_4441 IMG_4443
  • Add the tomato puree ( if using tomatoes just blanch them and make a puree)  and mix well.
  • Add the frozen peas.
  • I usually keep the peas outside for 5 minutes to bring it down to room temperature.
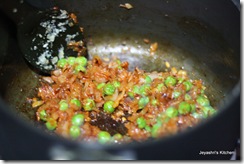
IMG_4444 IMG_4446
  • Add the red chilli powder, coriander powder, cumin seed powder and garam masala.
  • Now add cauliflower and mix well.
keema
  • Cook for 5-6 minutes.
  • Garnish with coriander leaves.
gobi ka kheema

Monday, May 7, 2012

SOYA CHUNKS CHILLI | MEAL MAKER CHILLI RECIPE

  My mom usually add soy chunks in vegetable biryani, but after marriage i have never tasted or cooked soy chunks| meal maker even in restaurants too. When i saw this in the nearby Indian grocery store I bought a pack of soya chunks to try out any recipe with soya chunks recipe. Soon I will post some variety of recipes with soya chunks in my space.
soya chilli 
Recipe Source: Red Chillies.
I modified the recipe slightly to suit my taste and it tasted very nice. We had it with rotis.
INGREDIENTS:
SOYA CHUNKS| MEAL MAKER 1 CUP
WATER 3 CUPS
MILK 3 TBLSP
CAPSICUM 1 NO
ONION 1 NO
GARLIC 4-5 PODS
SOY SAUCE 1 TBSLP
RED CHILLI POWDER 1/2 TSP
OIL 2 TBLSP
CORIANDER LEAVES FEW
SALT TO TASTE
SOY CHILLI
METHOD:
  • Boil the water and add the soya chunks, milk and add salt to this.
  • Adding milk to this will suppress the smell of soya chunks.
  • Let this boil for 12-15 minutes.
IMG_0788 IMG_0790
  • After that keep it closed for 10 minutes.
  • Chop the garlic finely.
  • Chop the onions finely and capsicum into cubes.
  • Add oil in a pan, and add the garlic pieces.
IMG_0792 IMG_0793
  • Add in the onions and saute for 4- 5 minutes in a medium flame.
IMG_0795
  • Meanwhile drain the water from the soya chunks and squeeze out the excess water from the soya chunks.
  • When the onions turn pink, add the red chilli powder, salt and soya sauce.
IMG_0796
  • Add the capsicum and saute for sometime in high flame for 2 minutes.
IMG_0798
  • Now add the soya chunks and mix well.
  • Add the coriander leaves and saute well.
IMG_0800
soy chilli
Note:
  1. Ginger garlic paste can be added instead of garlic.
  2. Pepper powder can be added to enhance the flavor.
  3. A tsp of tomato ketchup can be added.